My Straight Hair Routine | Volume | T3
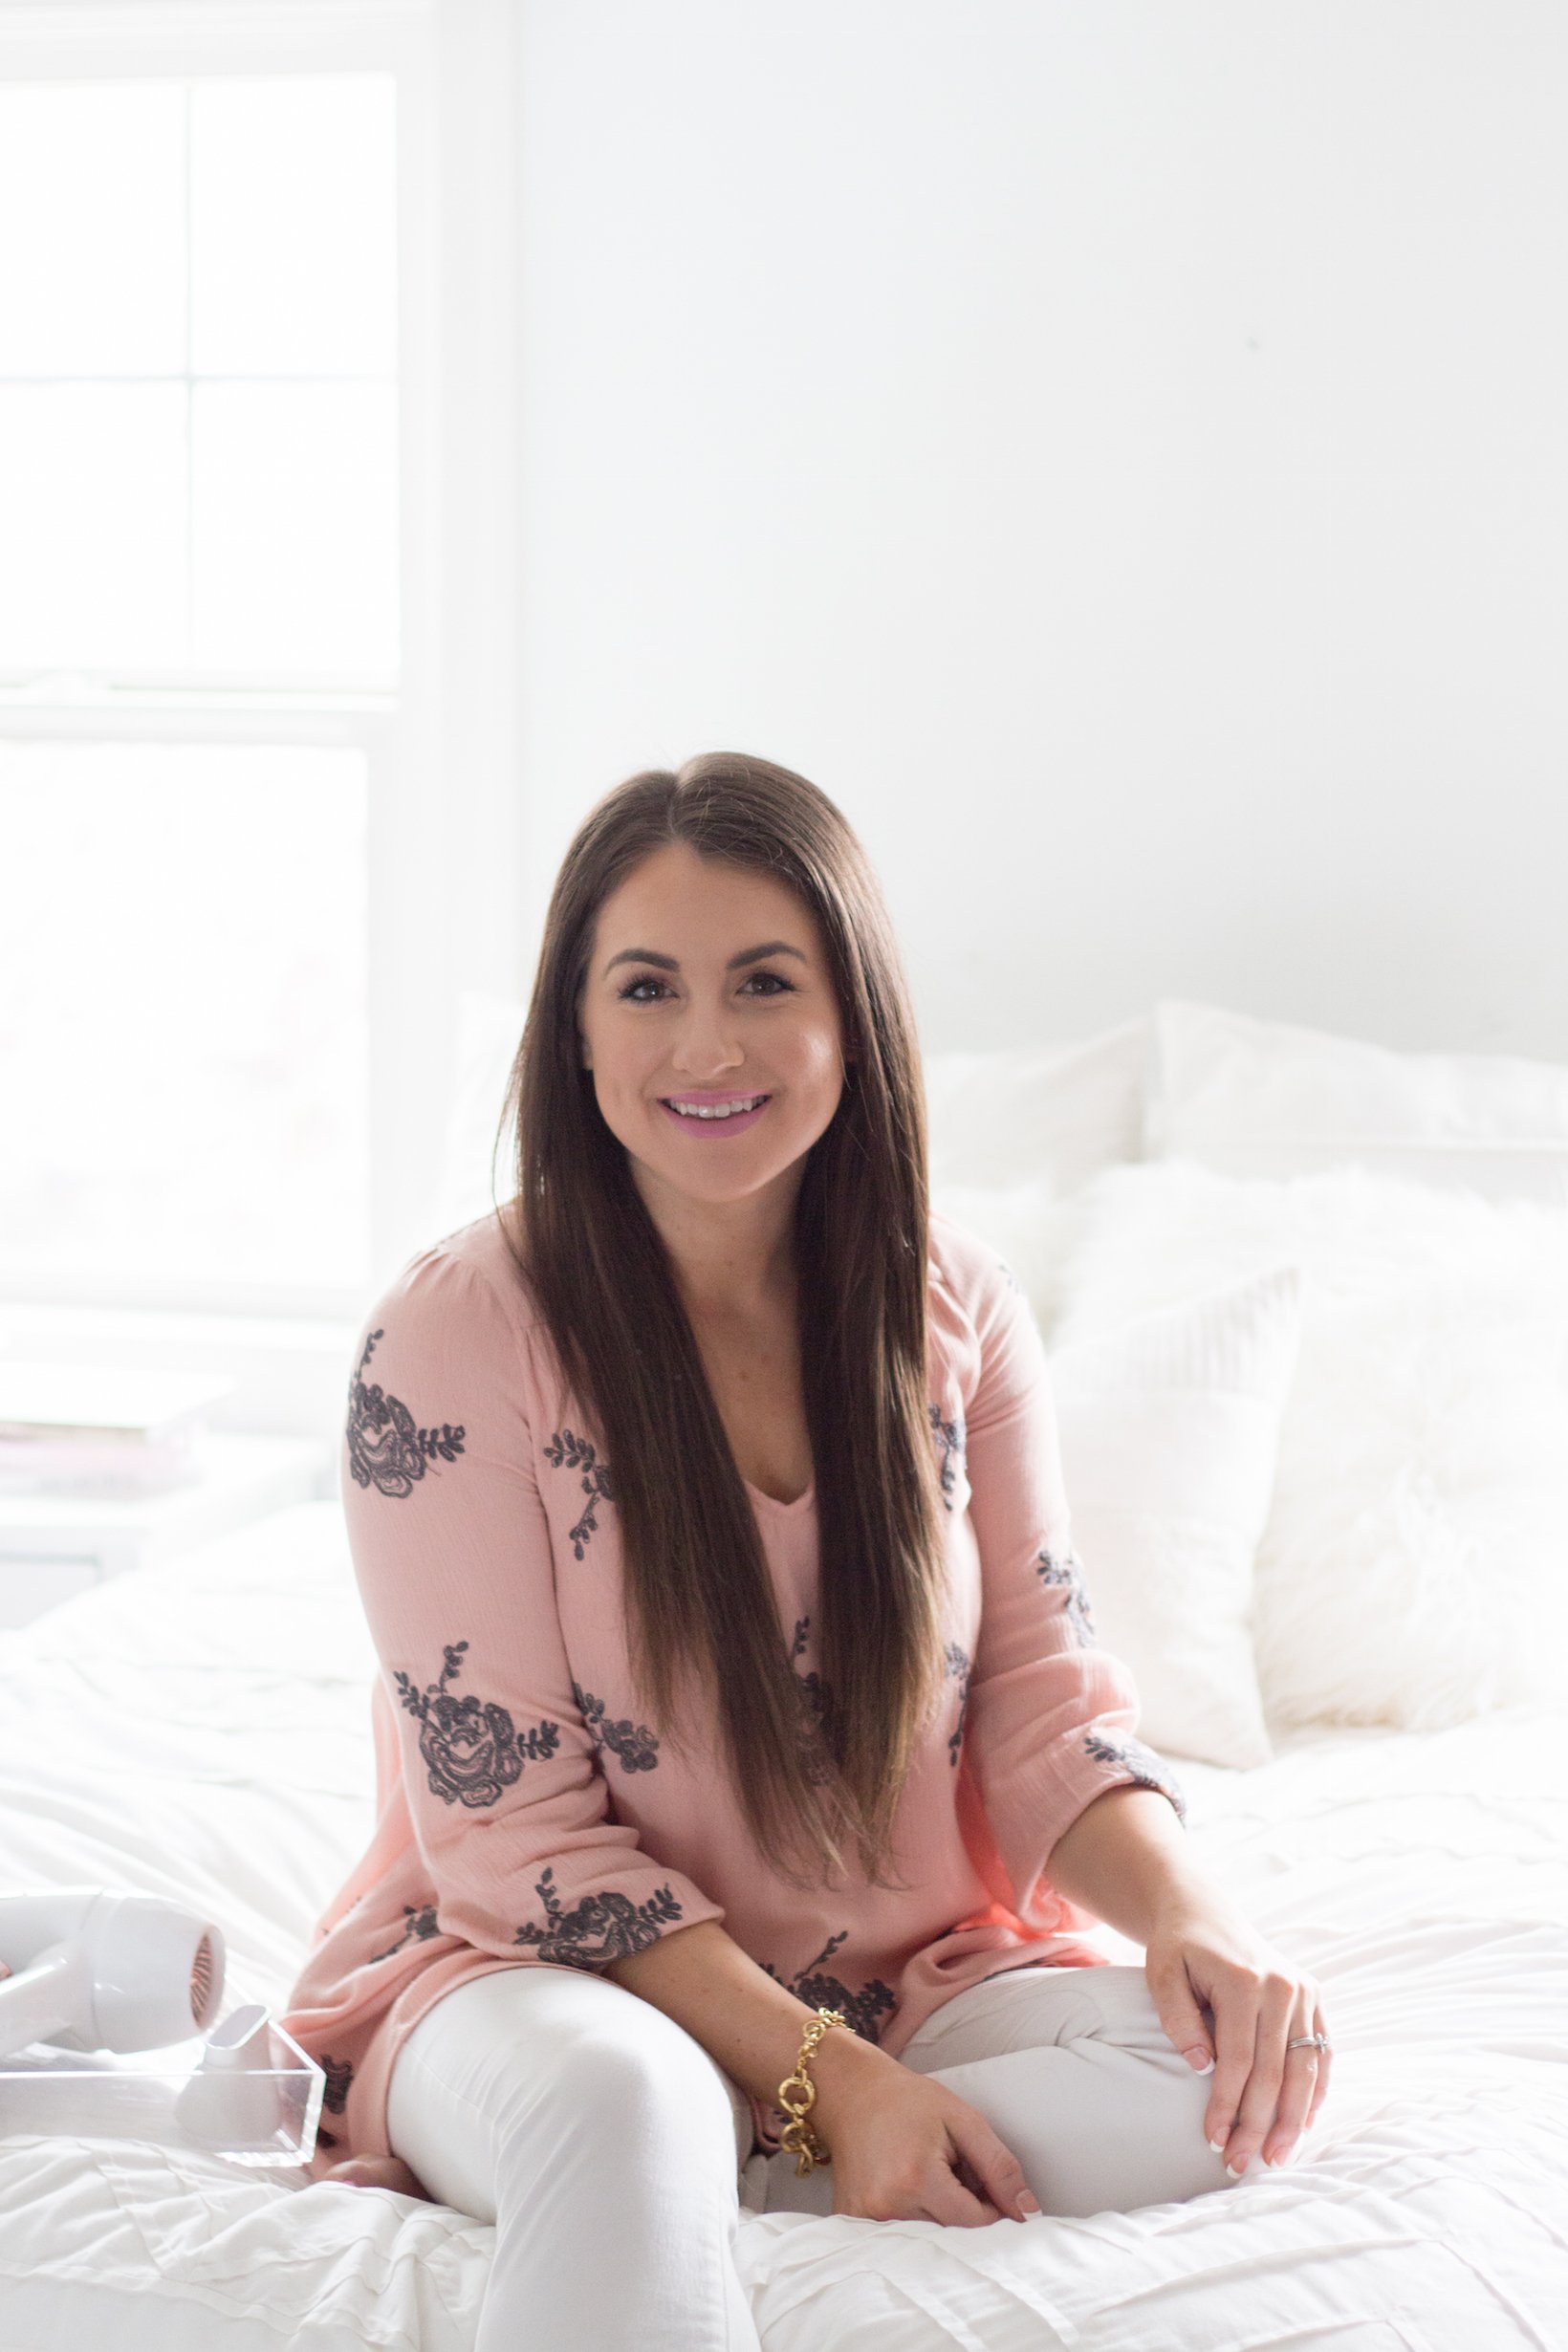
I have been wearing my hair straight recently and have fallen in love with this style all over again. It's due to my new tools that you need to know more about!
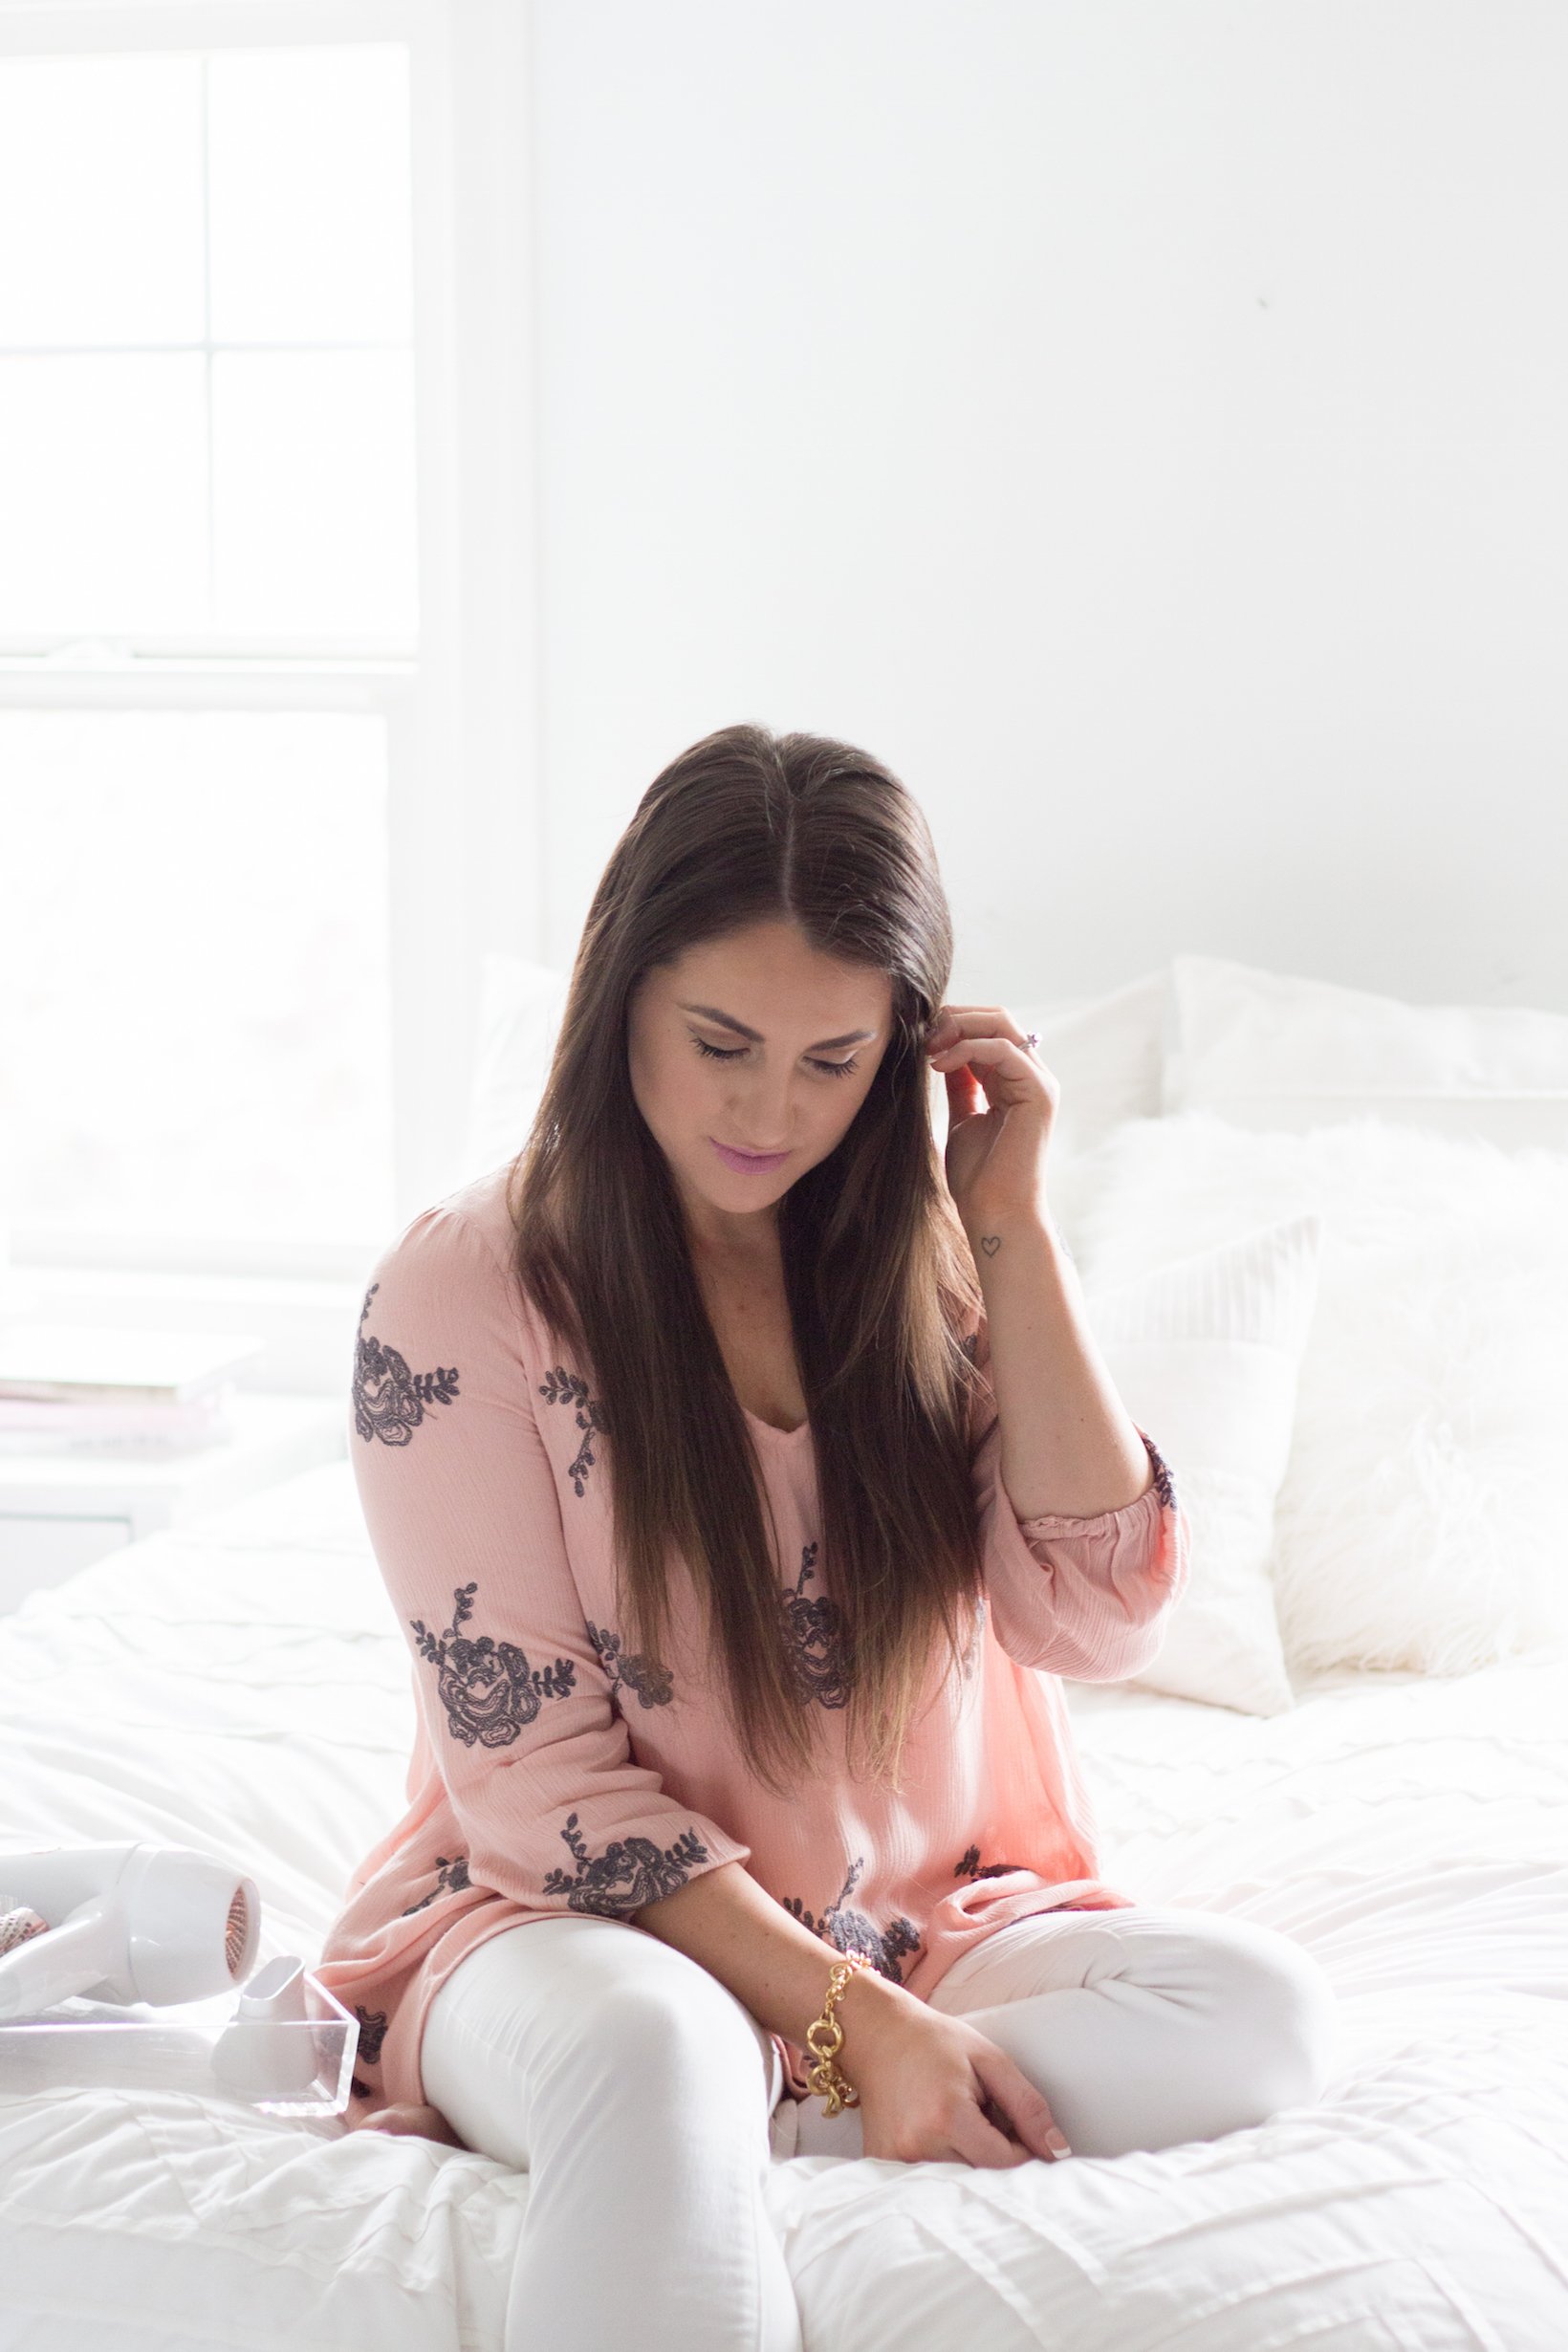
 OUTFIT DETAILSTUNIC c/o | JEANS | BRACELET | LIPS (Snob)
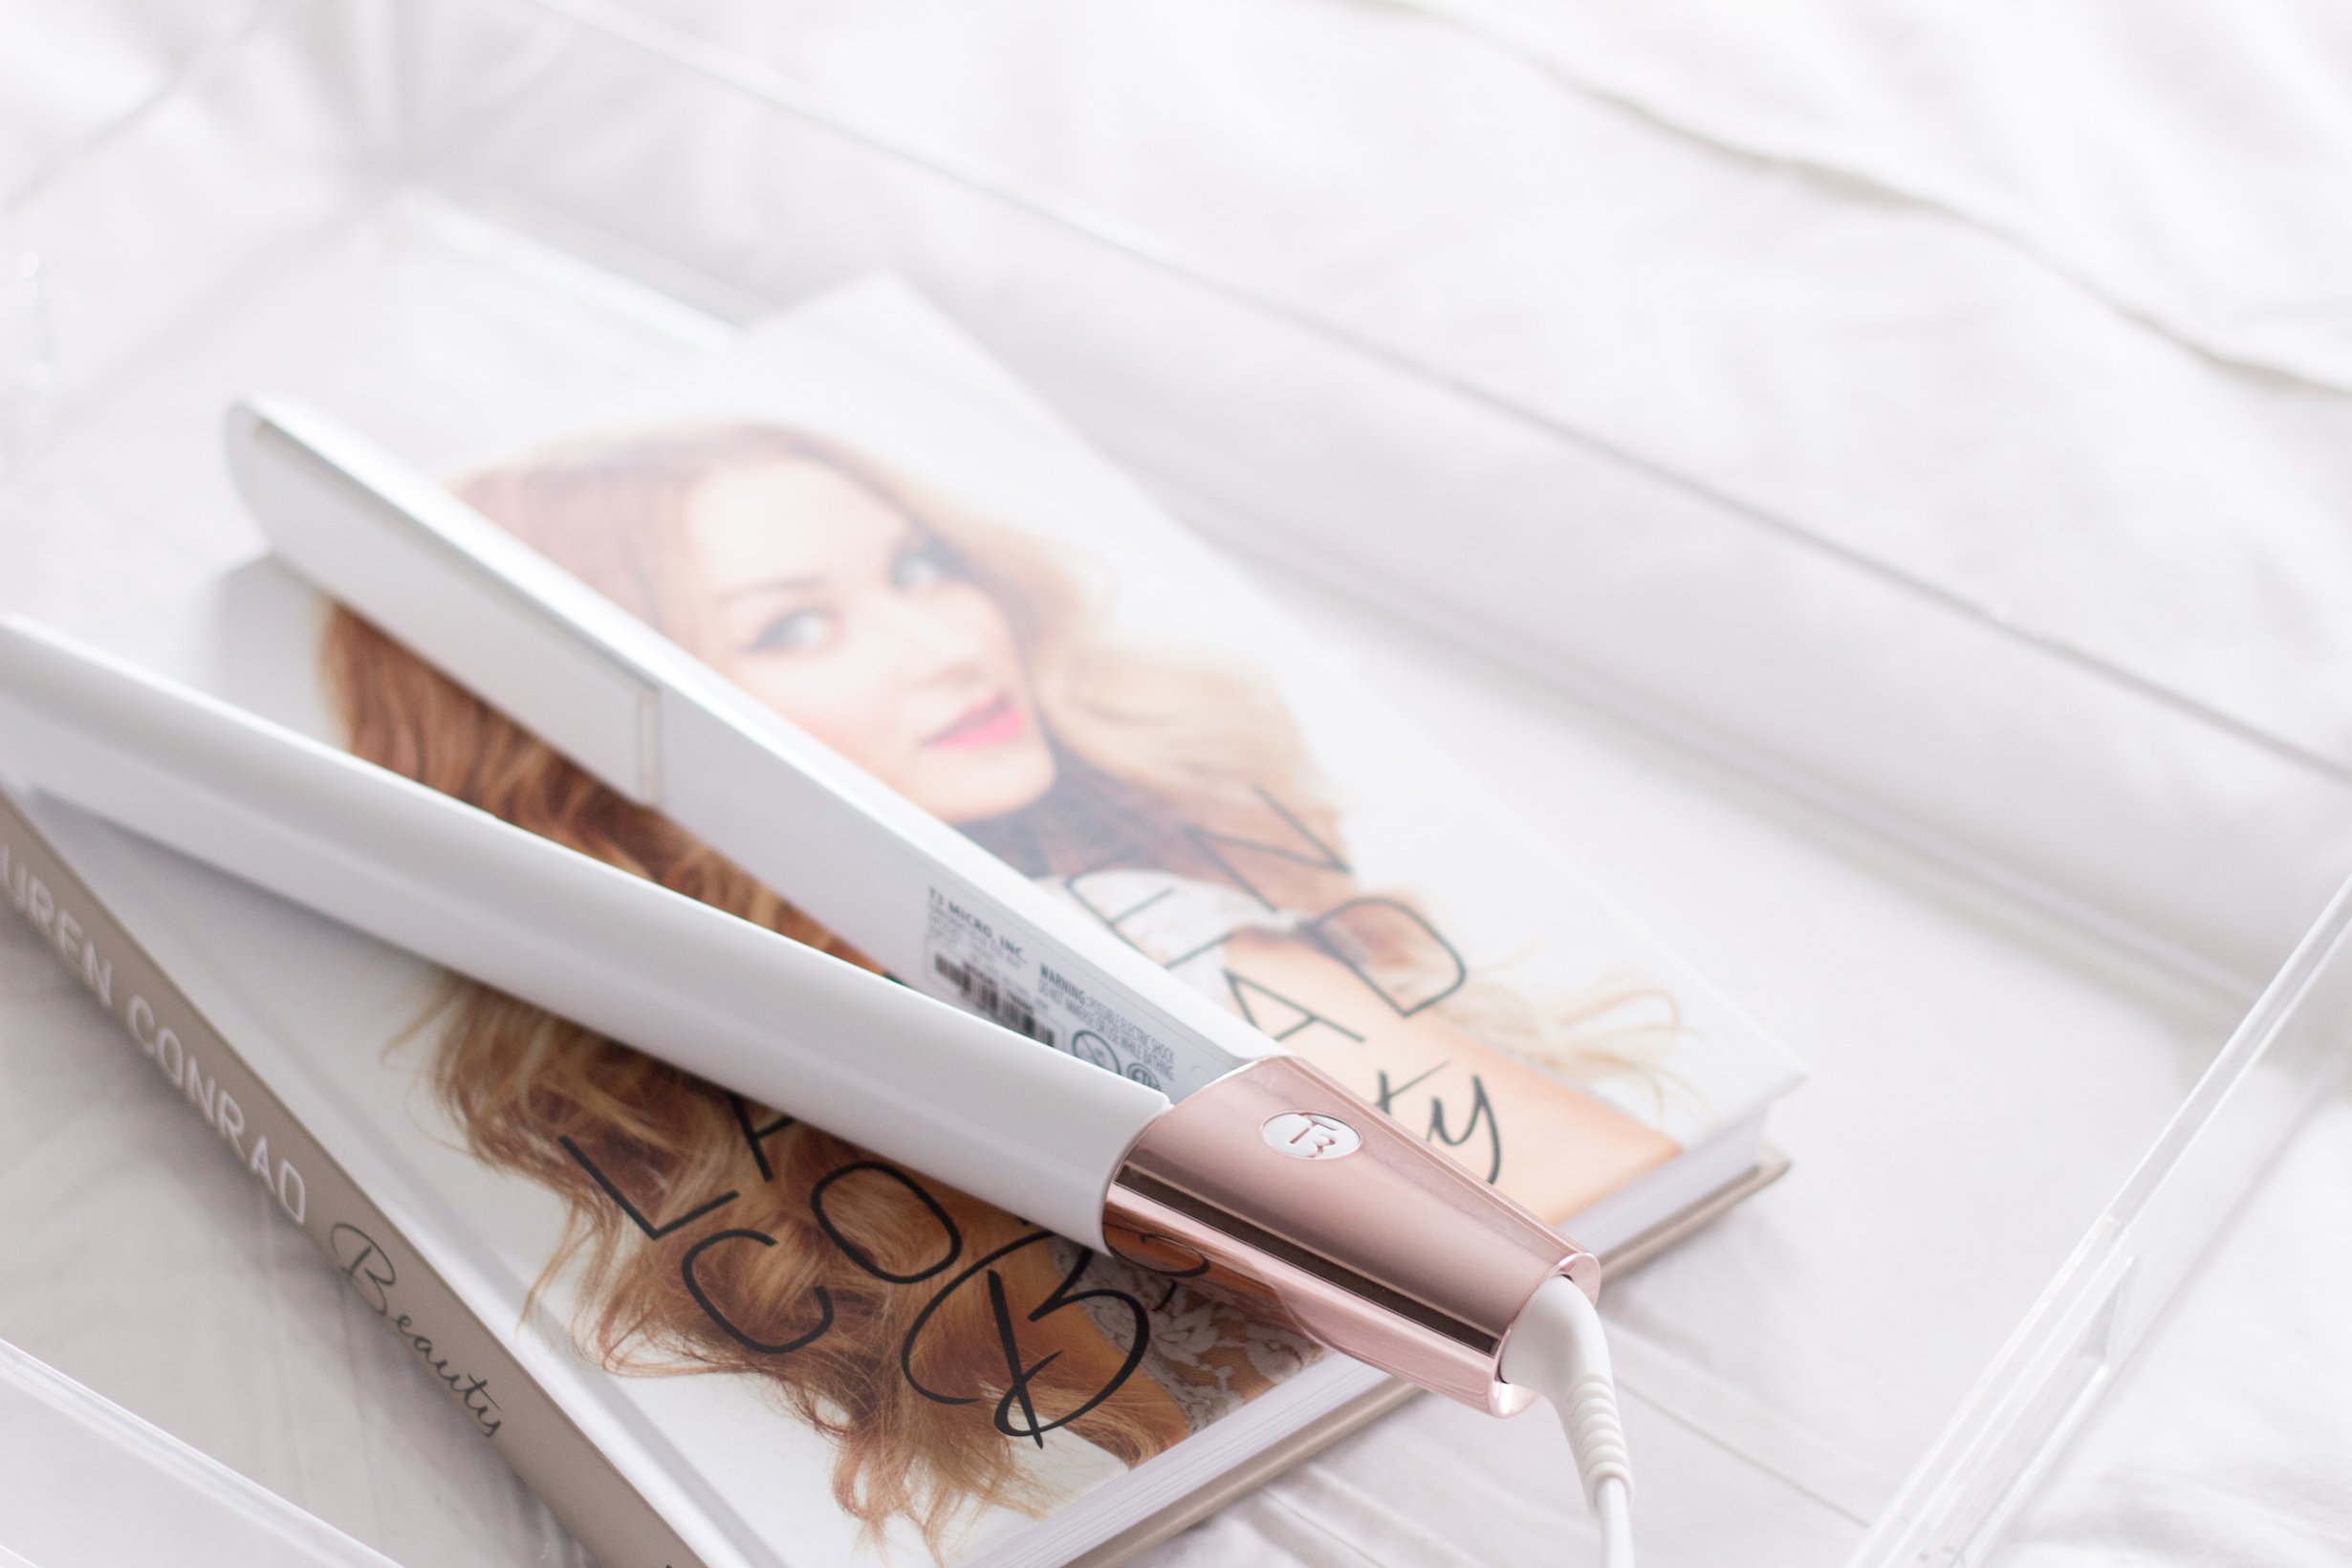
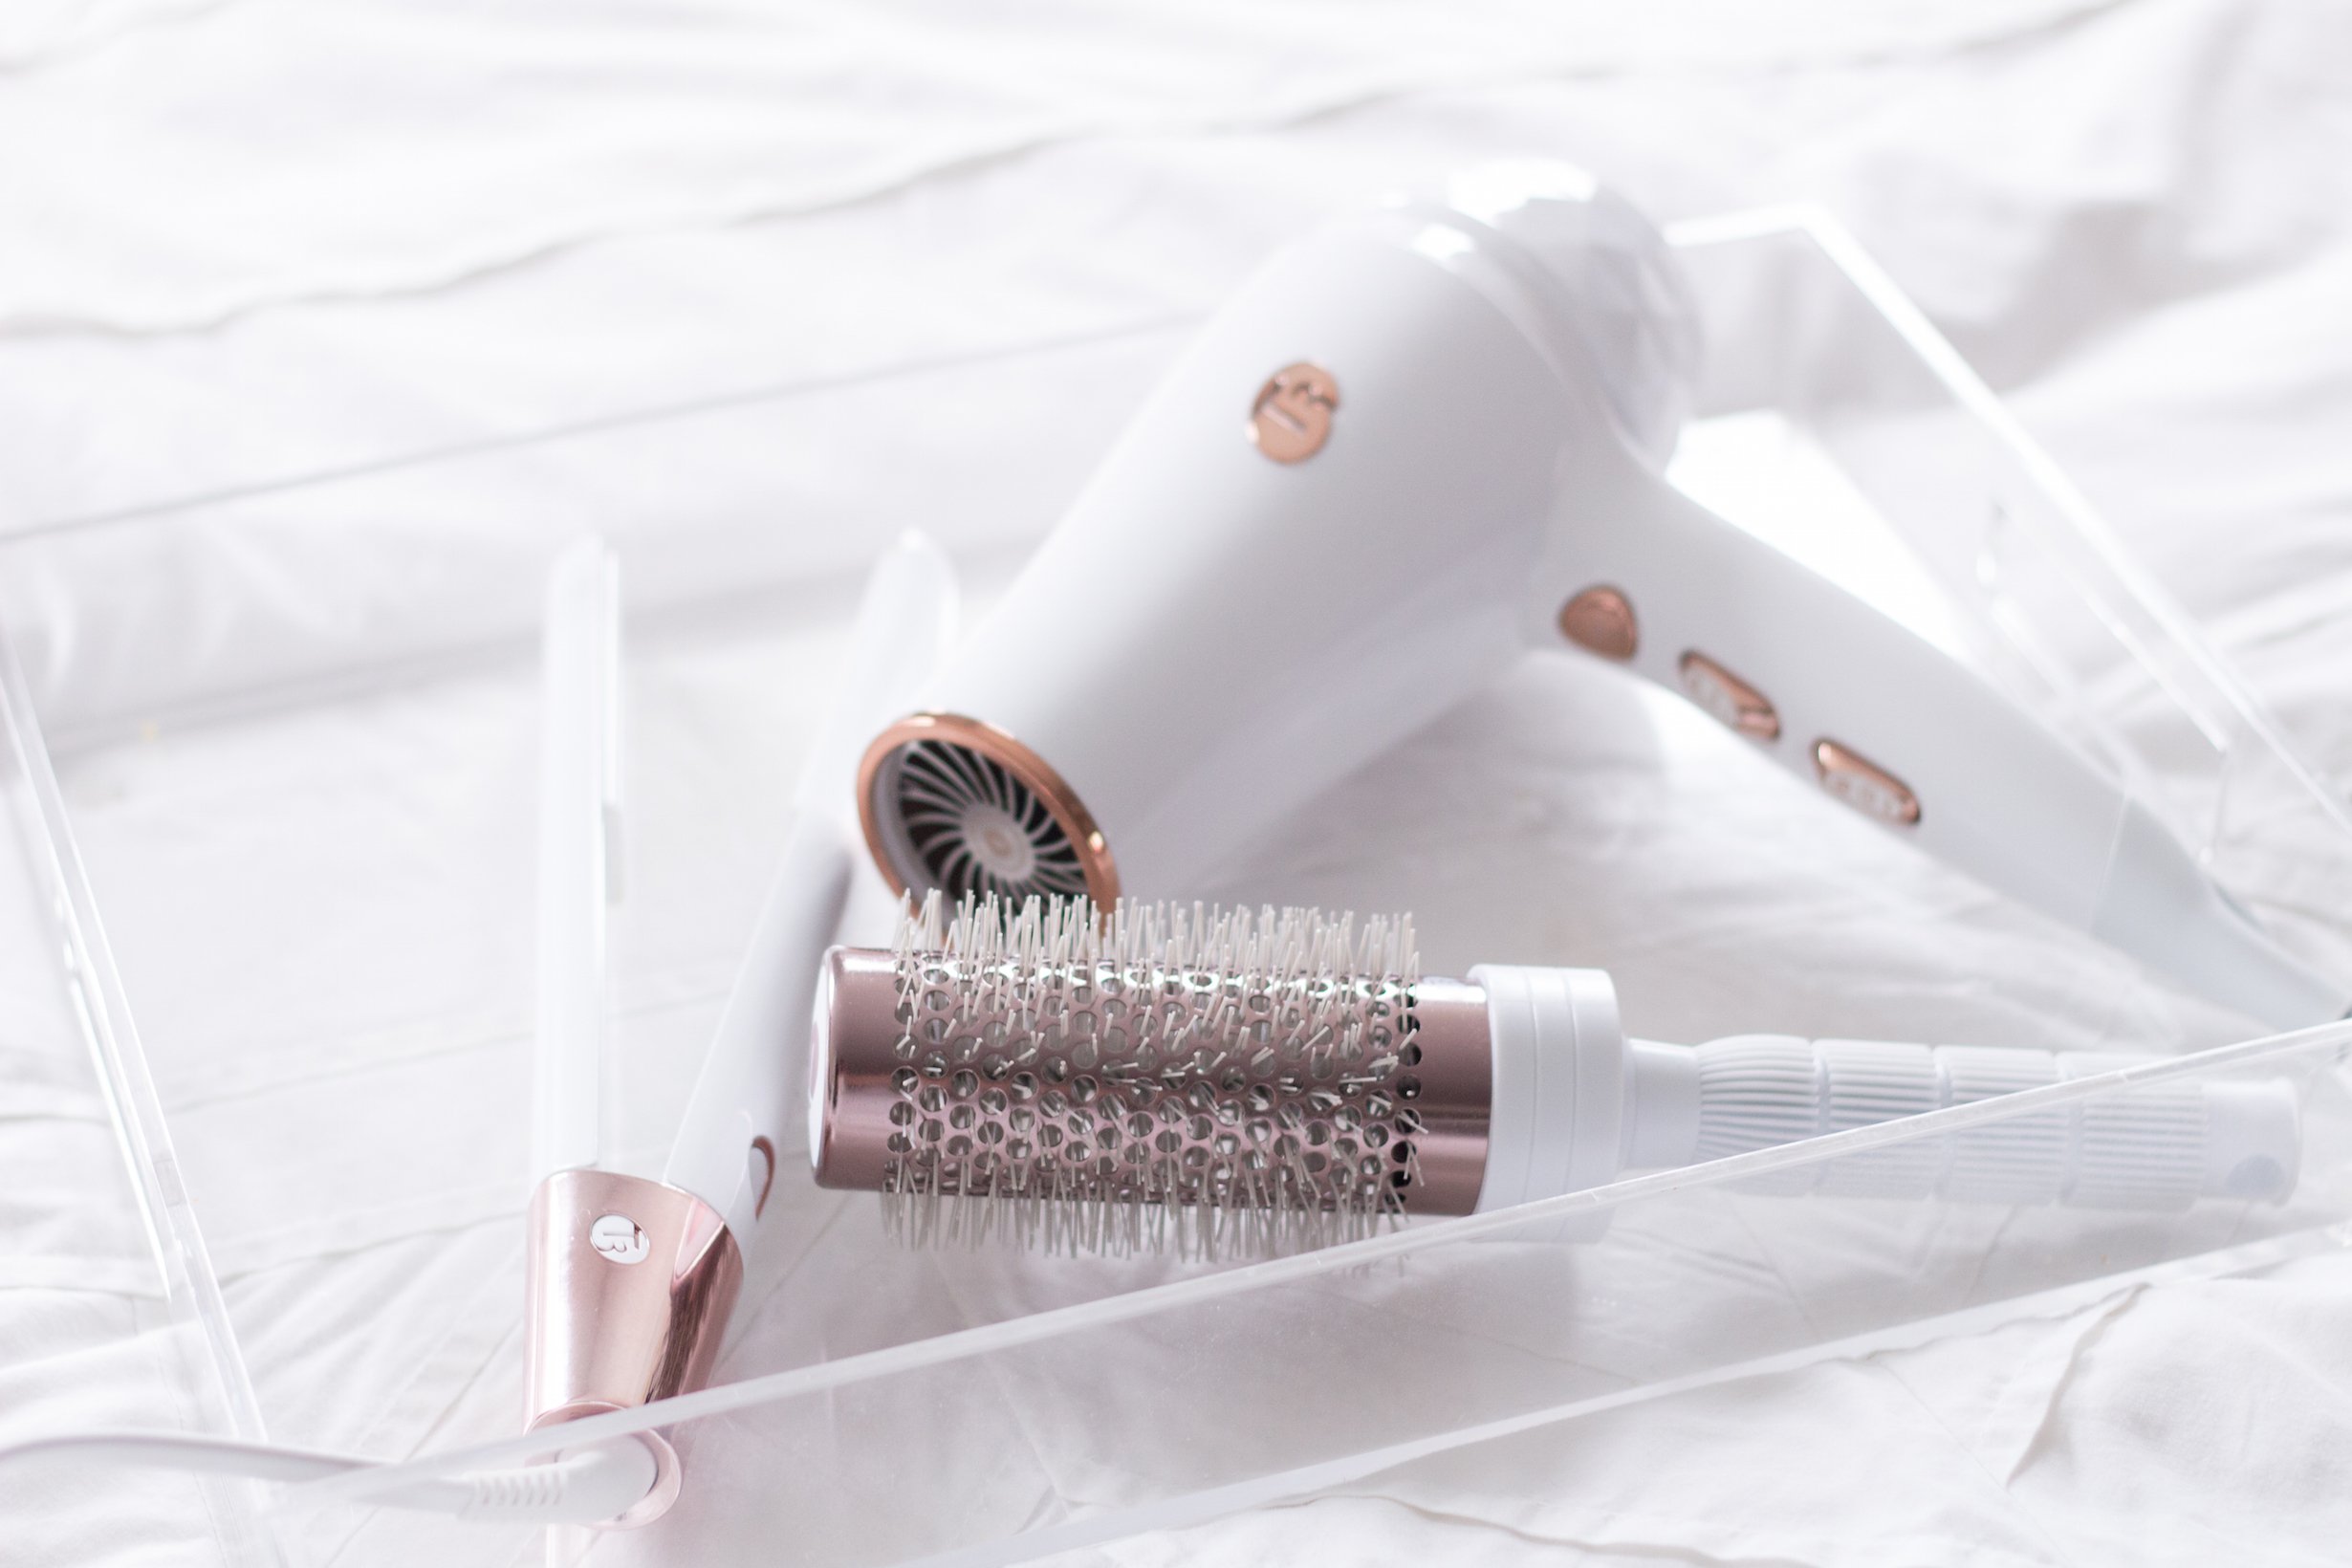
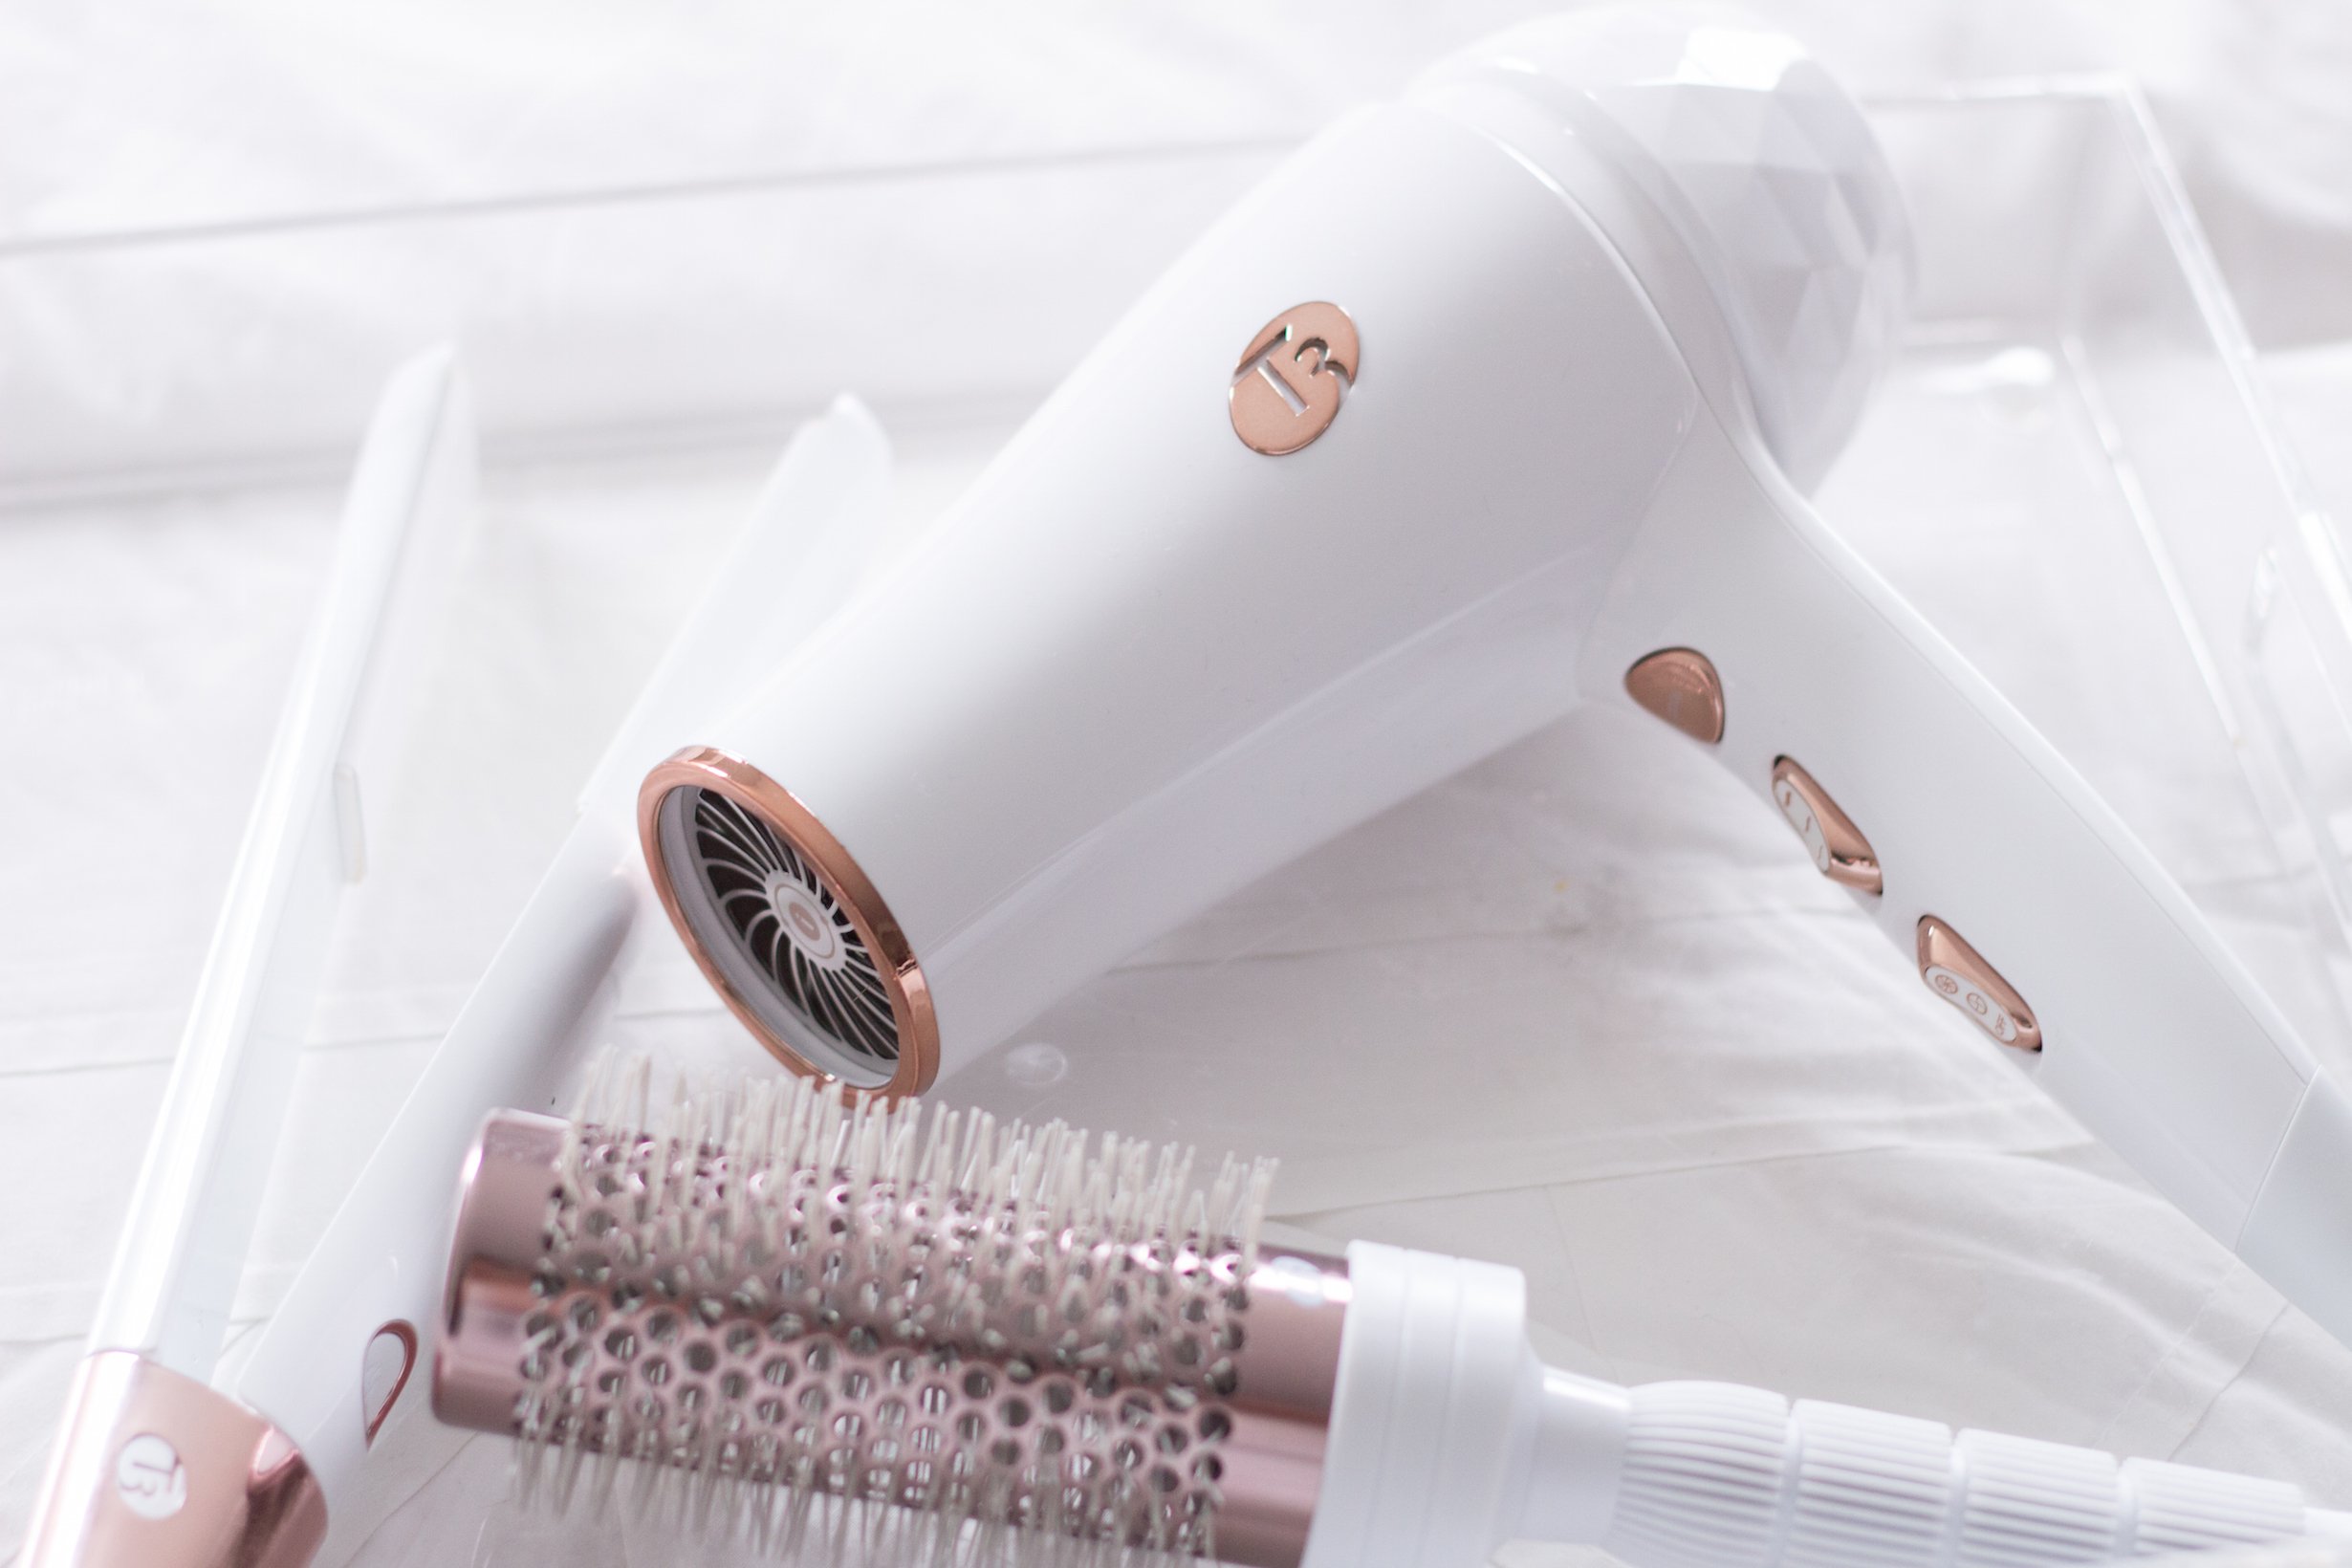
TOOLSFLAT IRON c/o | HAIR DRYER c/o | BRUSH c/o | VOLUMIZER
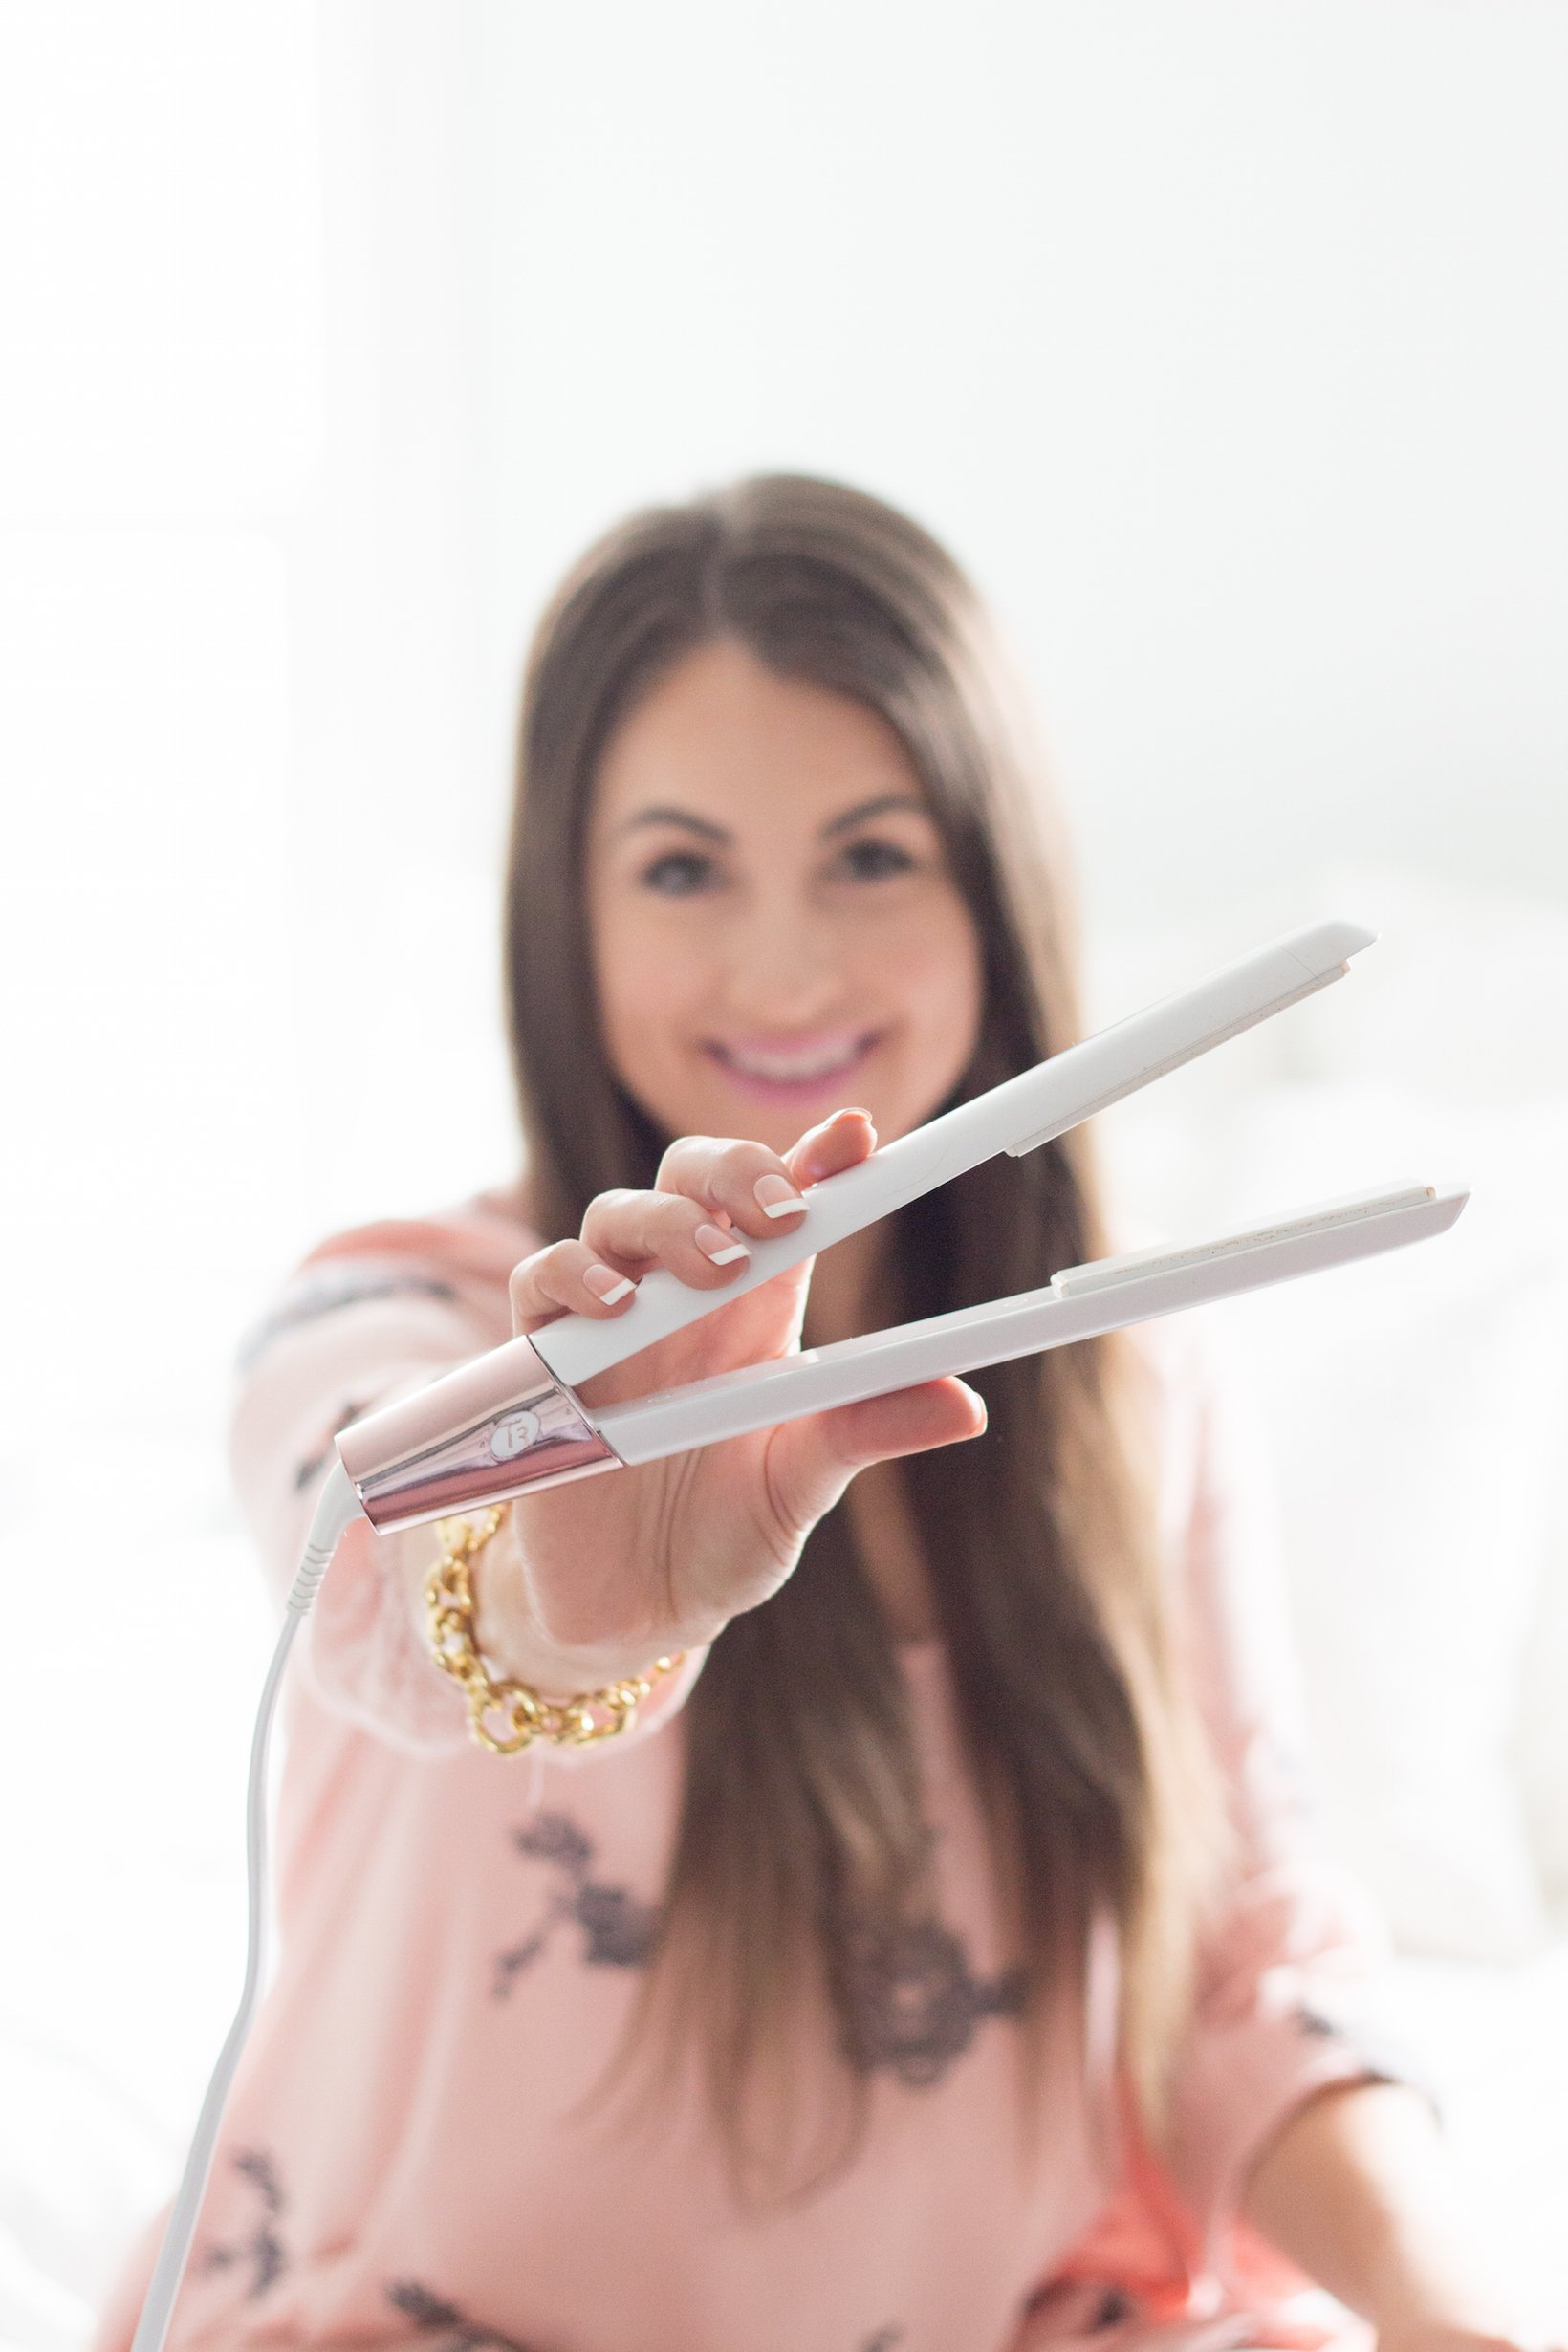
You guys know how much I love my T3 curling iron (full tutorial HERE). I was so excited to receive the Single Pass Luxe Flat Iron and the Featherweight Hair Dryer, they have completely changed my straight hair routine. I love my curly hair but sometimes you need a change. Lately, I wear my hair straight at least 3 times a week. It's smooth and sleek thanks to these new tools.
The Single Pass Luxe Flat Iron has tourmaline and ceramic plates that help to create a smooth texture on your hair. There are 5 heat settings on it, I use the 4th! I don't have to use this on a chunk of hair more than once it's that efficient.
The Featherweight Hair Dryer is amazing! It isn't as hot as some of the salon hairdryers I am used to but this is a good thing. The lower heat helps to create less frizz and a sleeker appearance. It's lightweight and easy to use. Especially with my long hair, I have to hold my hair dryer up high the entire time.
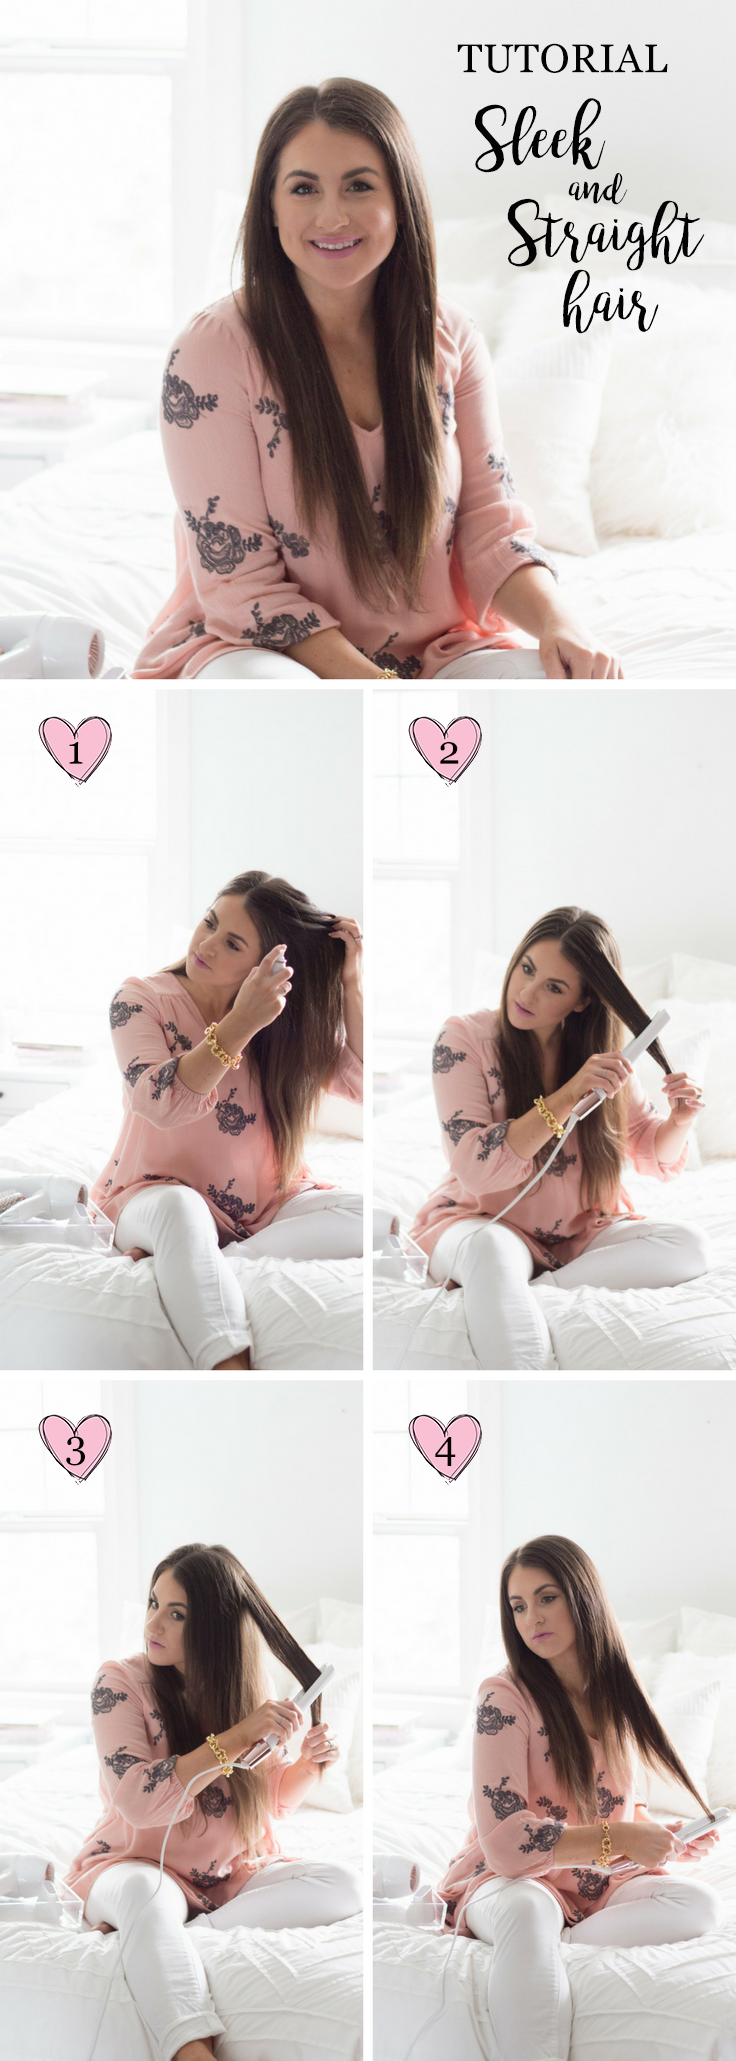
Now for the tutorial!
STEP ONE: I use THIS microfiber towel after I get out of the shower to absorb the moisture. After about 20 minutes, I take my hair out and smooth it with my fingers. I then use THIS hair dryer for about 5 minutes smoothing out the top of my hair first and then making sure everything is dry. You can see how I do this HERE
STEP TWO: Next, I spray THIS Dry Bar Triple Sec in my roots to help with some natural looking volume. I mix it in with my fingers just slightly.
[symple_column size="one-half" position="first" fade_in="false"]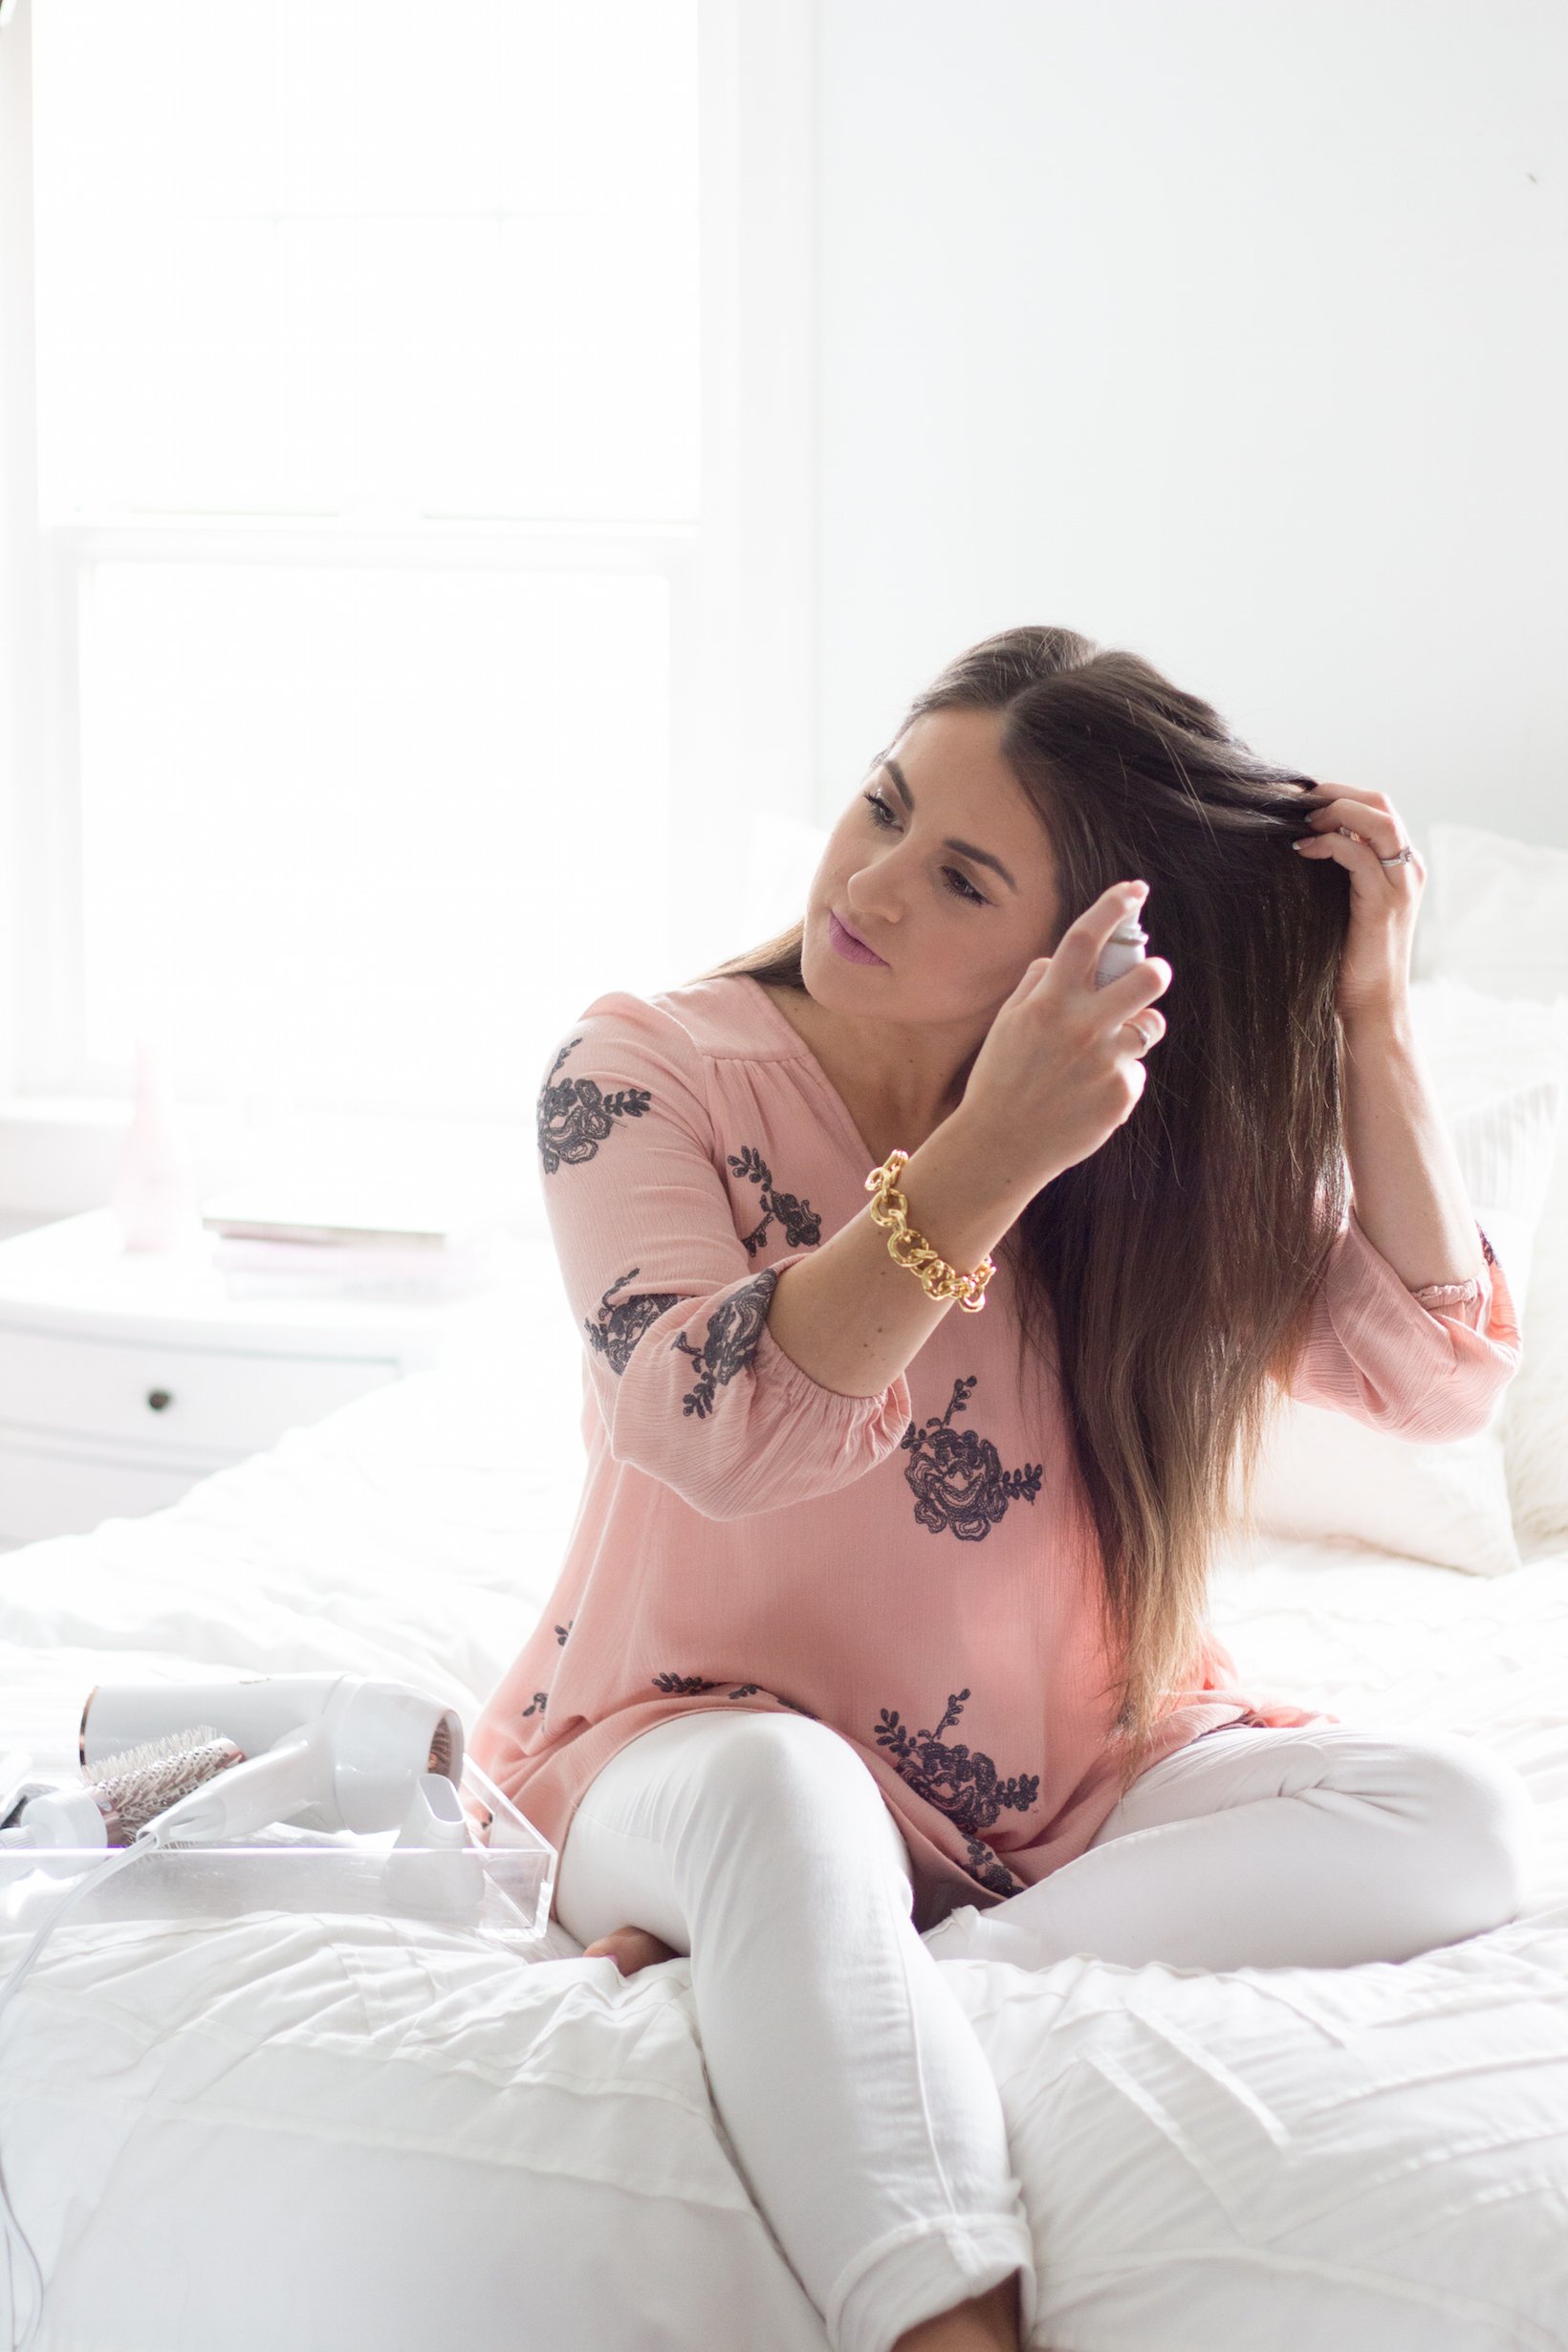 [/symple_column][symple_column size="one-half" position="last" fade_in="false"]
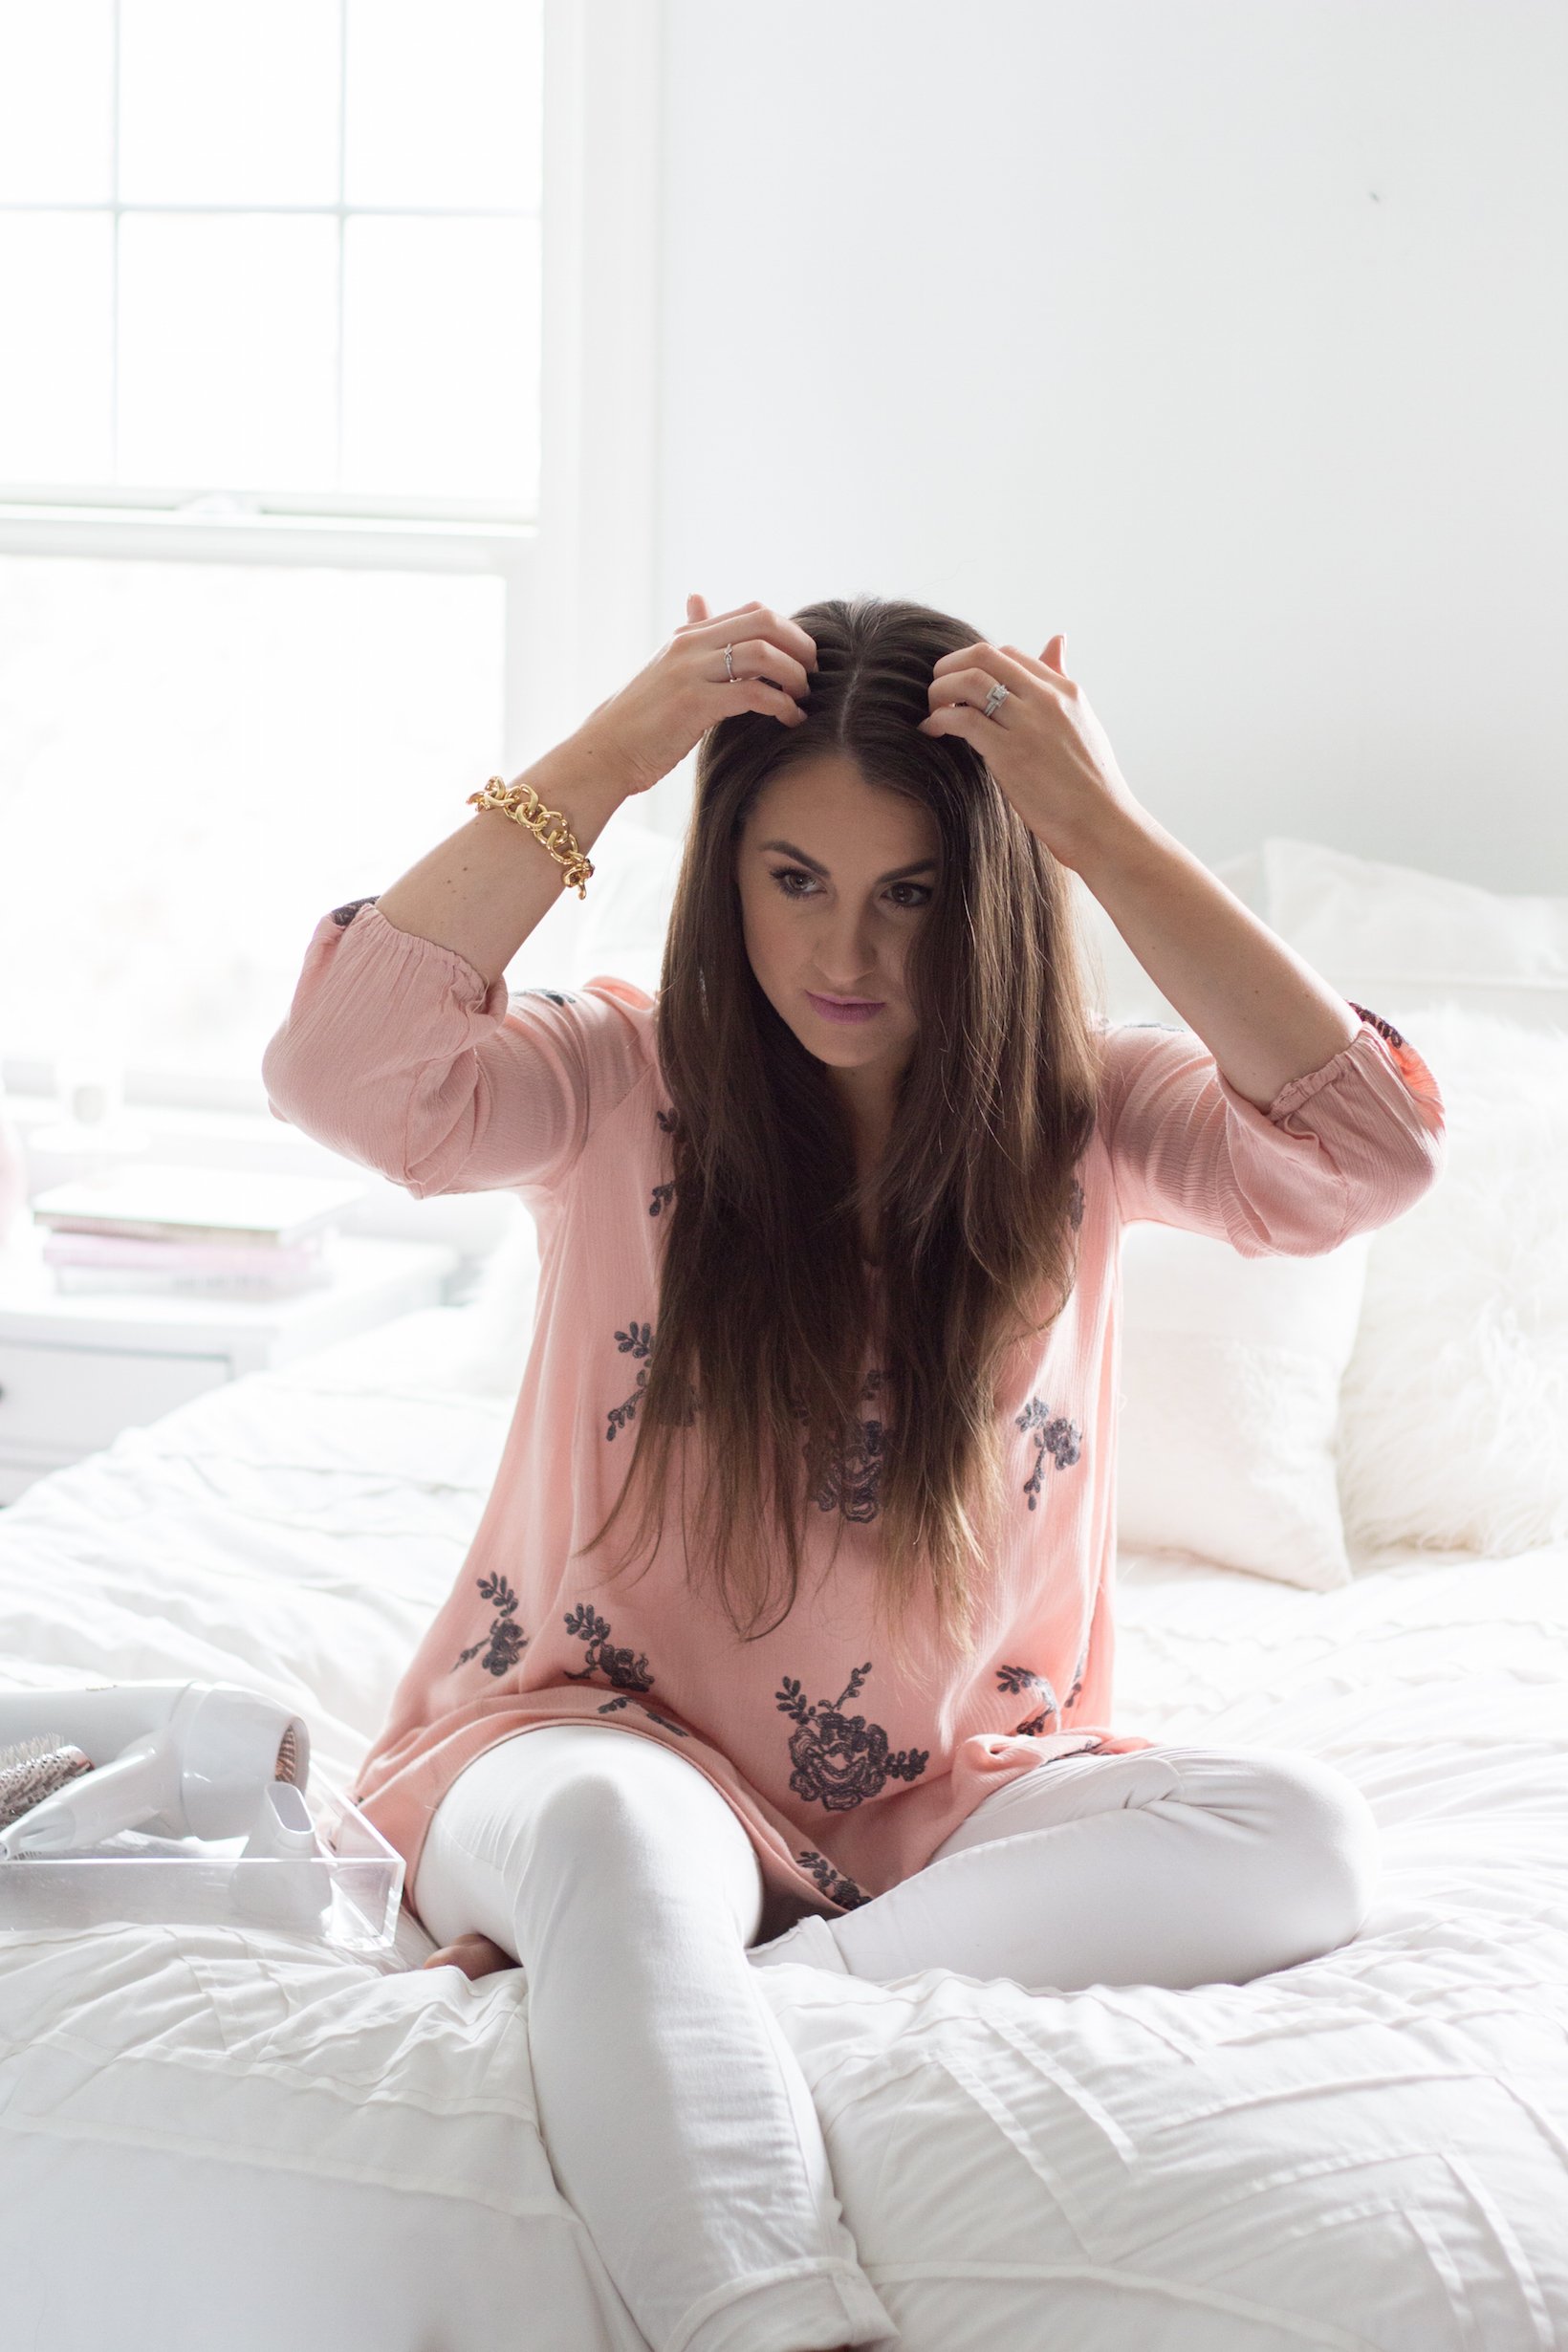 [/symple_column]
STEP THREE: I then shape the front pieces of my hair to shape my face. This is to add depth to the style.
[symple_column size="one-half" position="first" fade_in="false"]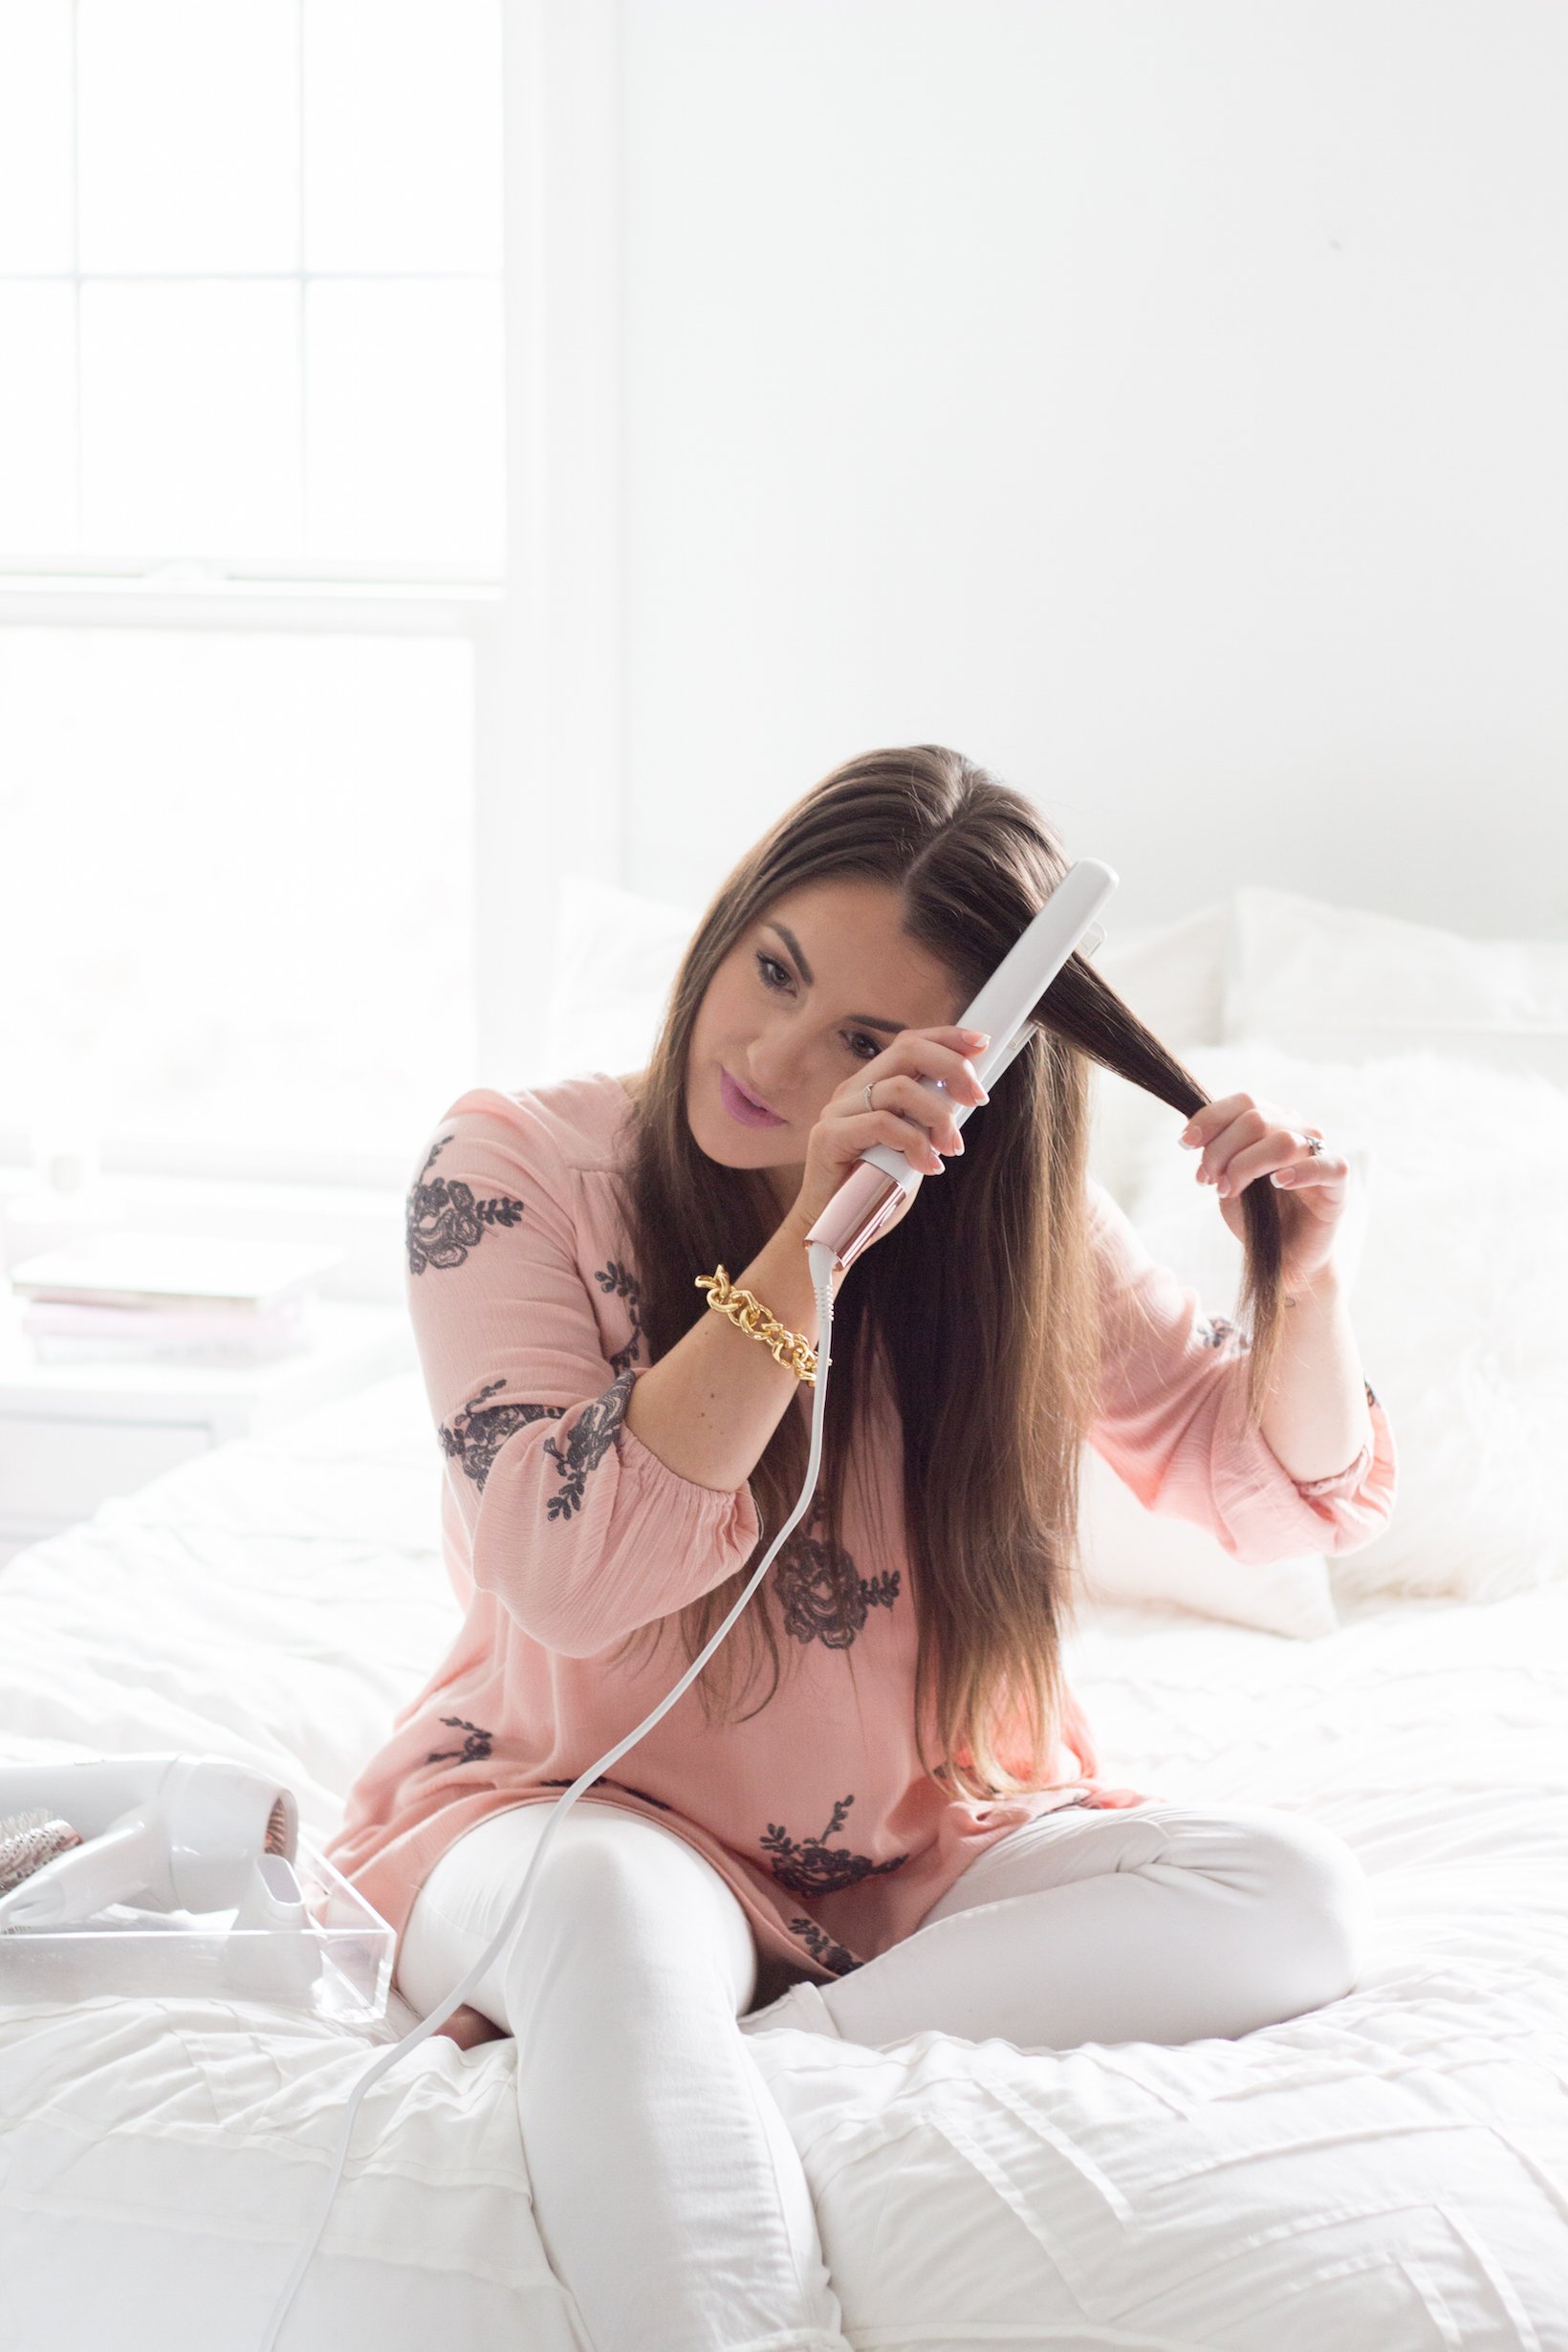 [/symple_column][symple_column size="one-half" position="last" fade_in="false"]
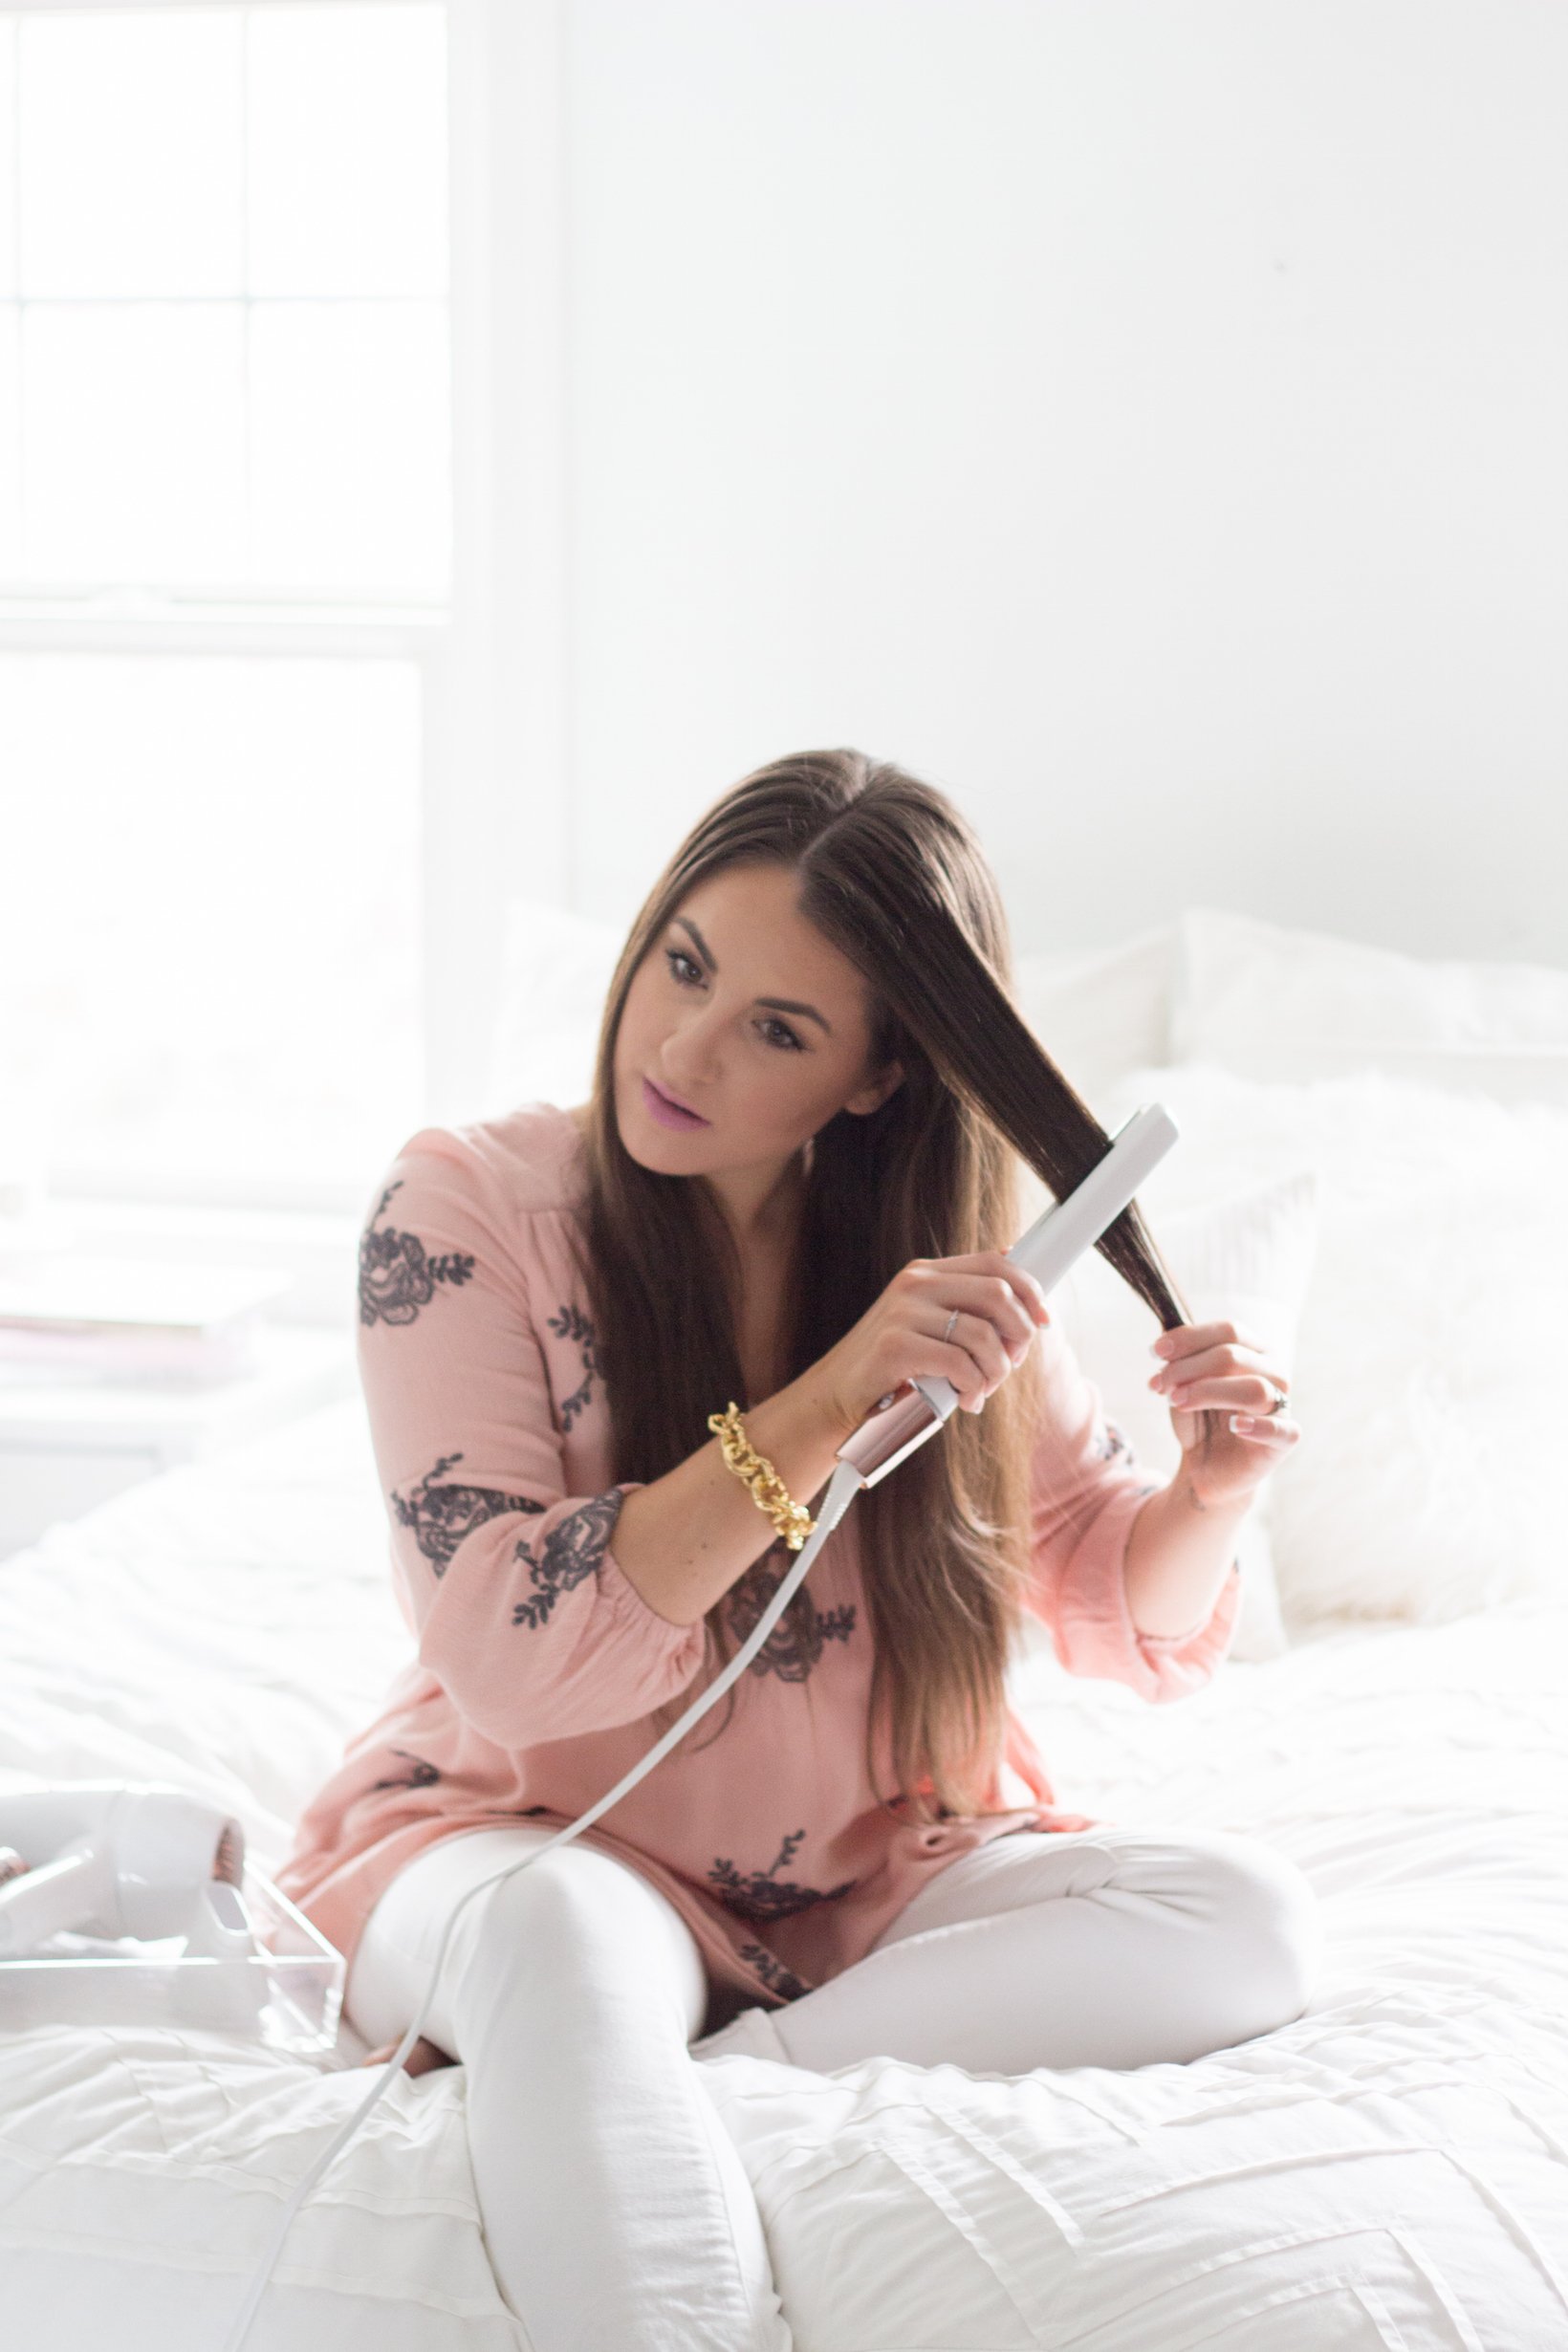 [/symple_column]
STEP FOUR: Next, I go through the hair next to my roots to make sure its smooth and lays flat. This is KEY to help your hair lay flat vs. having kinks.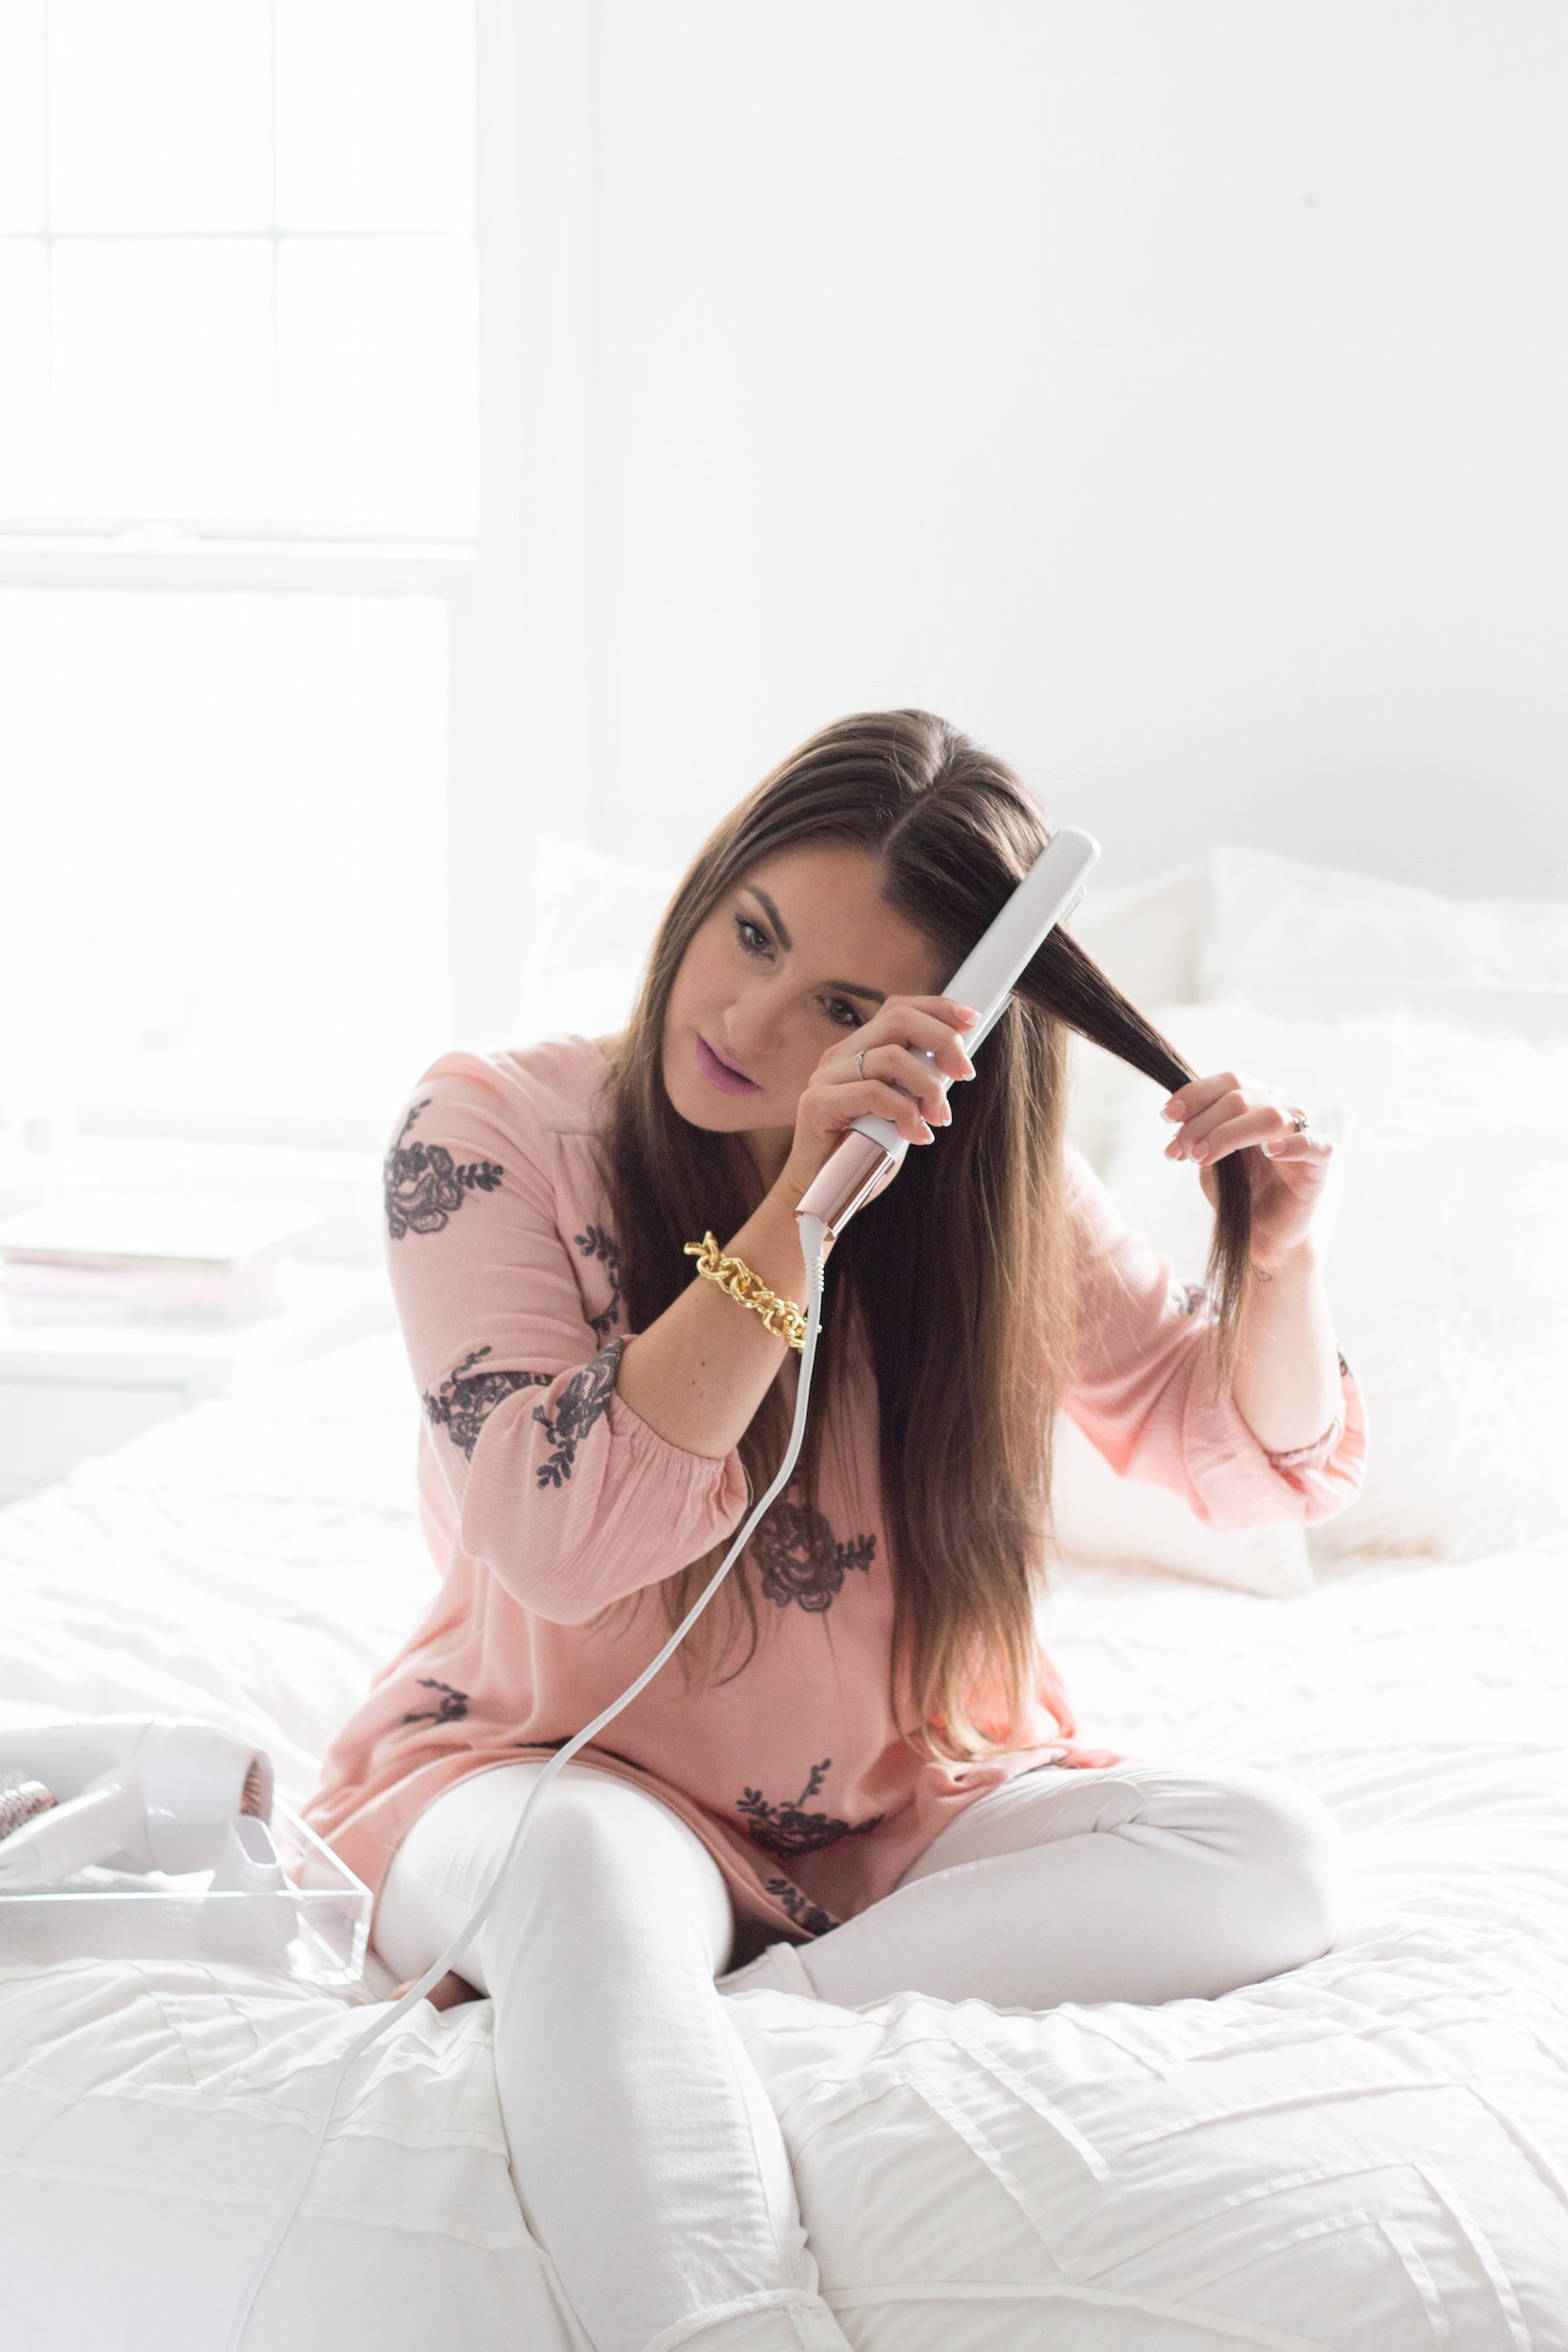
STEP FIVE: I then take the pieces from underneath and smooth them down to the tips of my hair. I only smooth what needs to be smoothed to help with the health of my hair.
[symple_column size="one-half" position="first" fade_in="false"]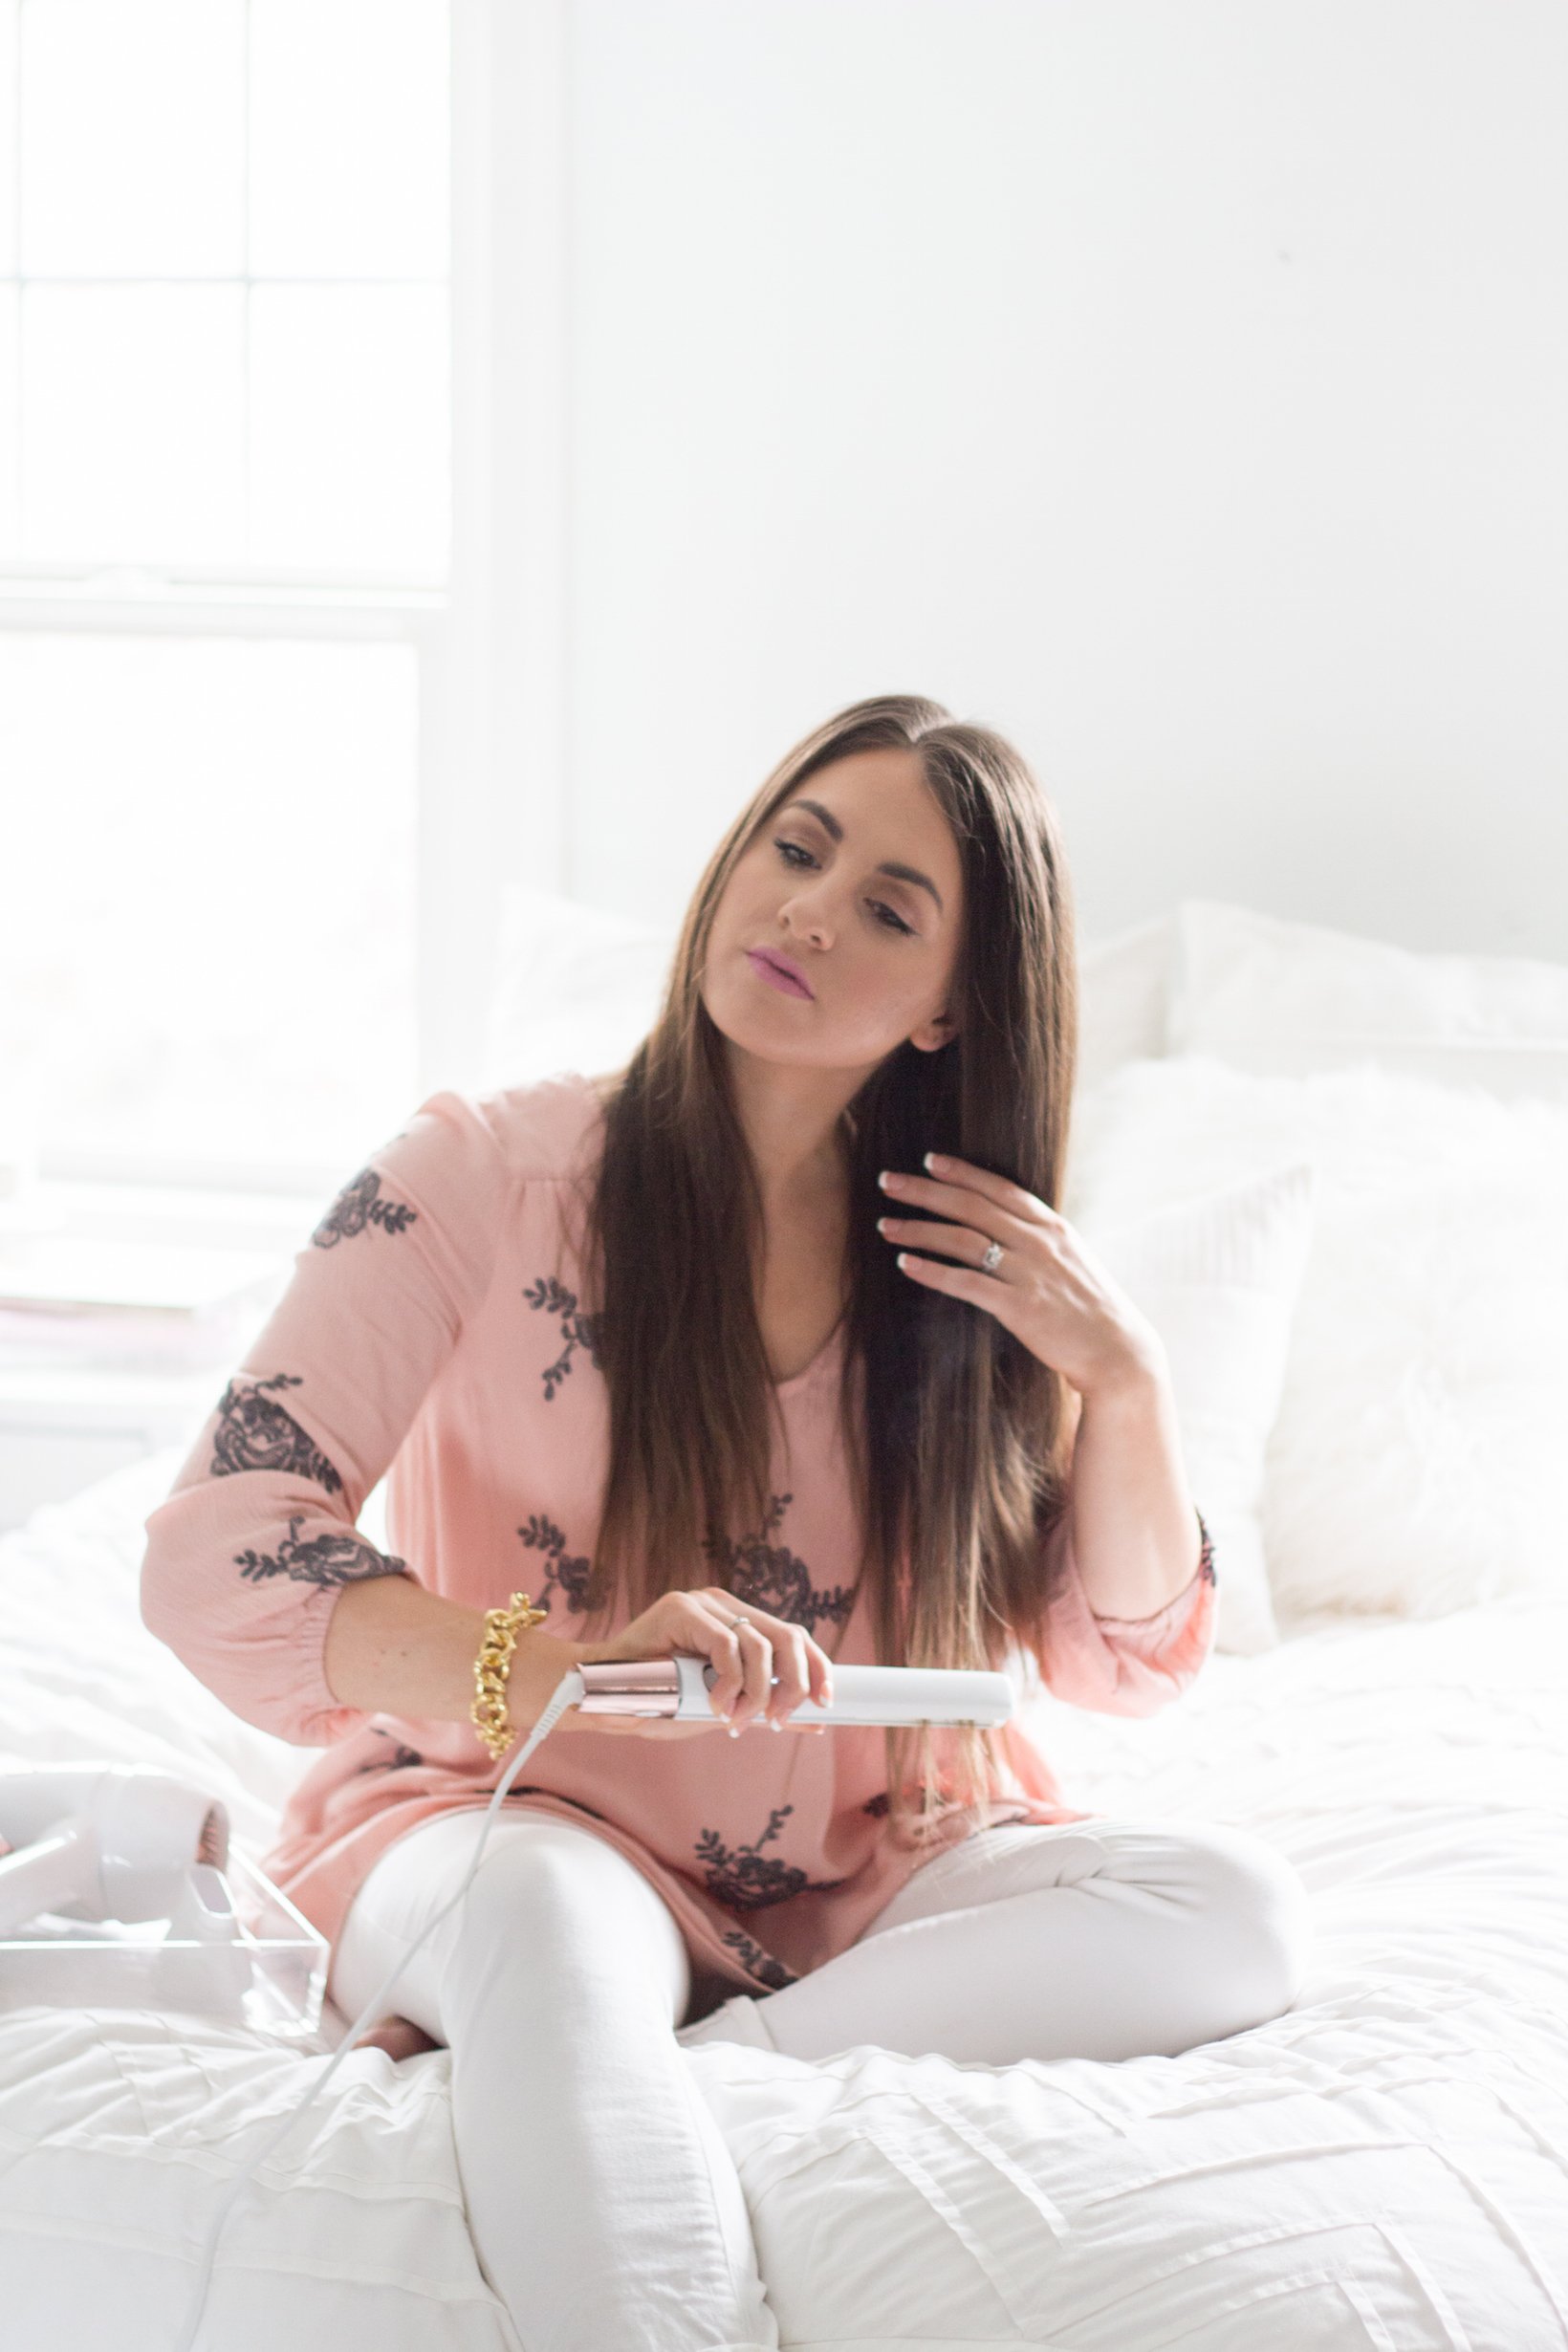 [/symple_column][symple_column size="one-half" position="last" fade_in="false"]
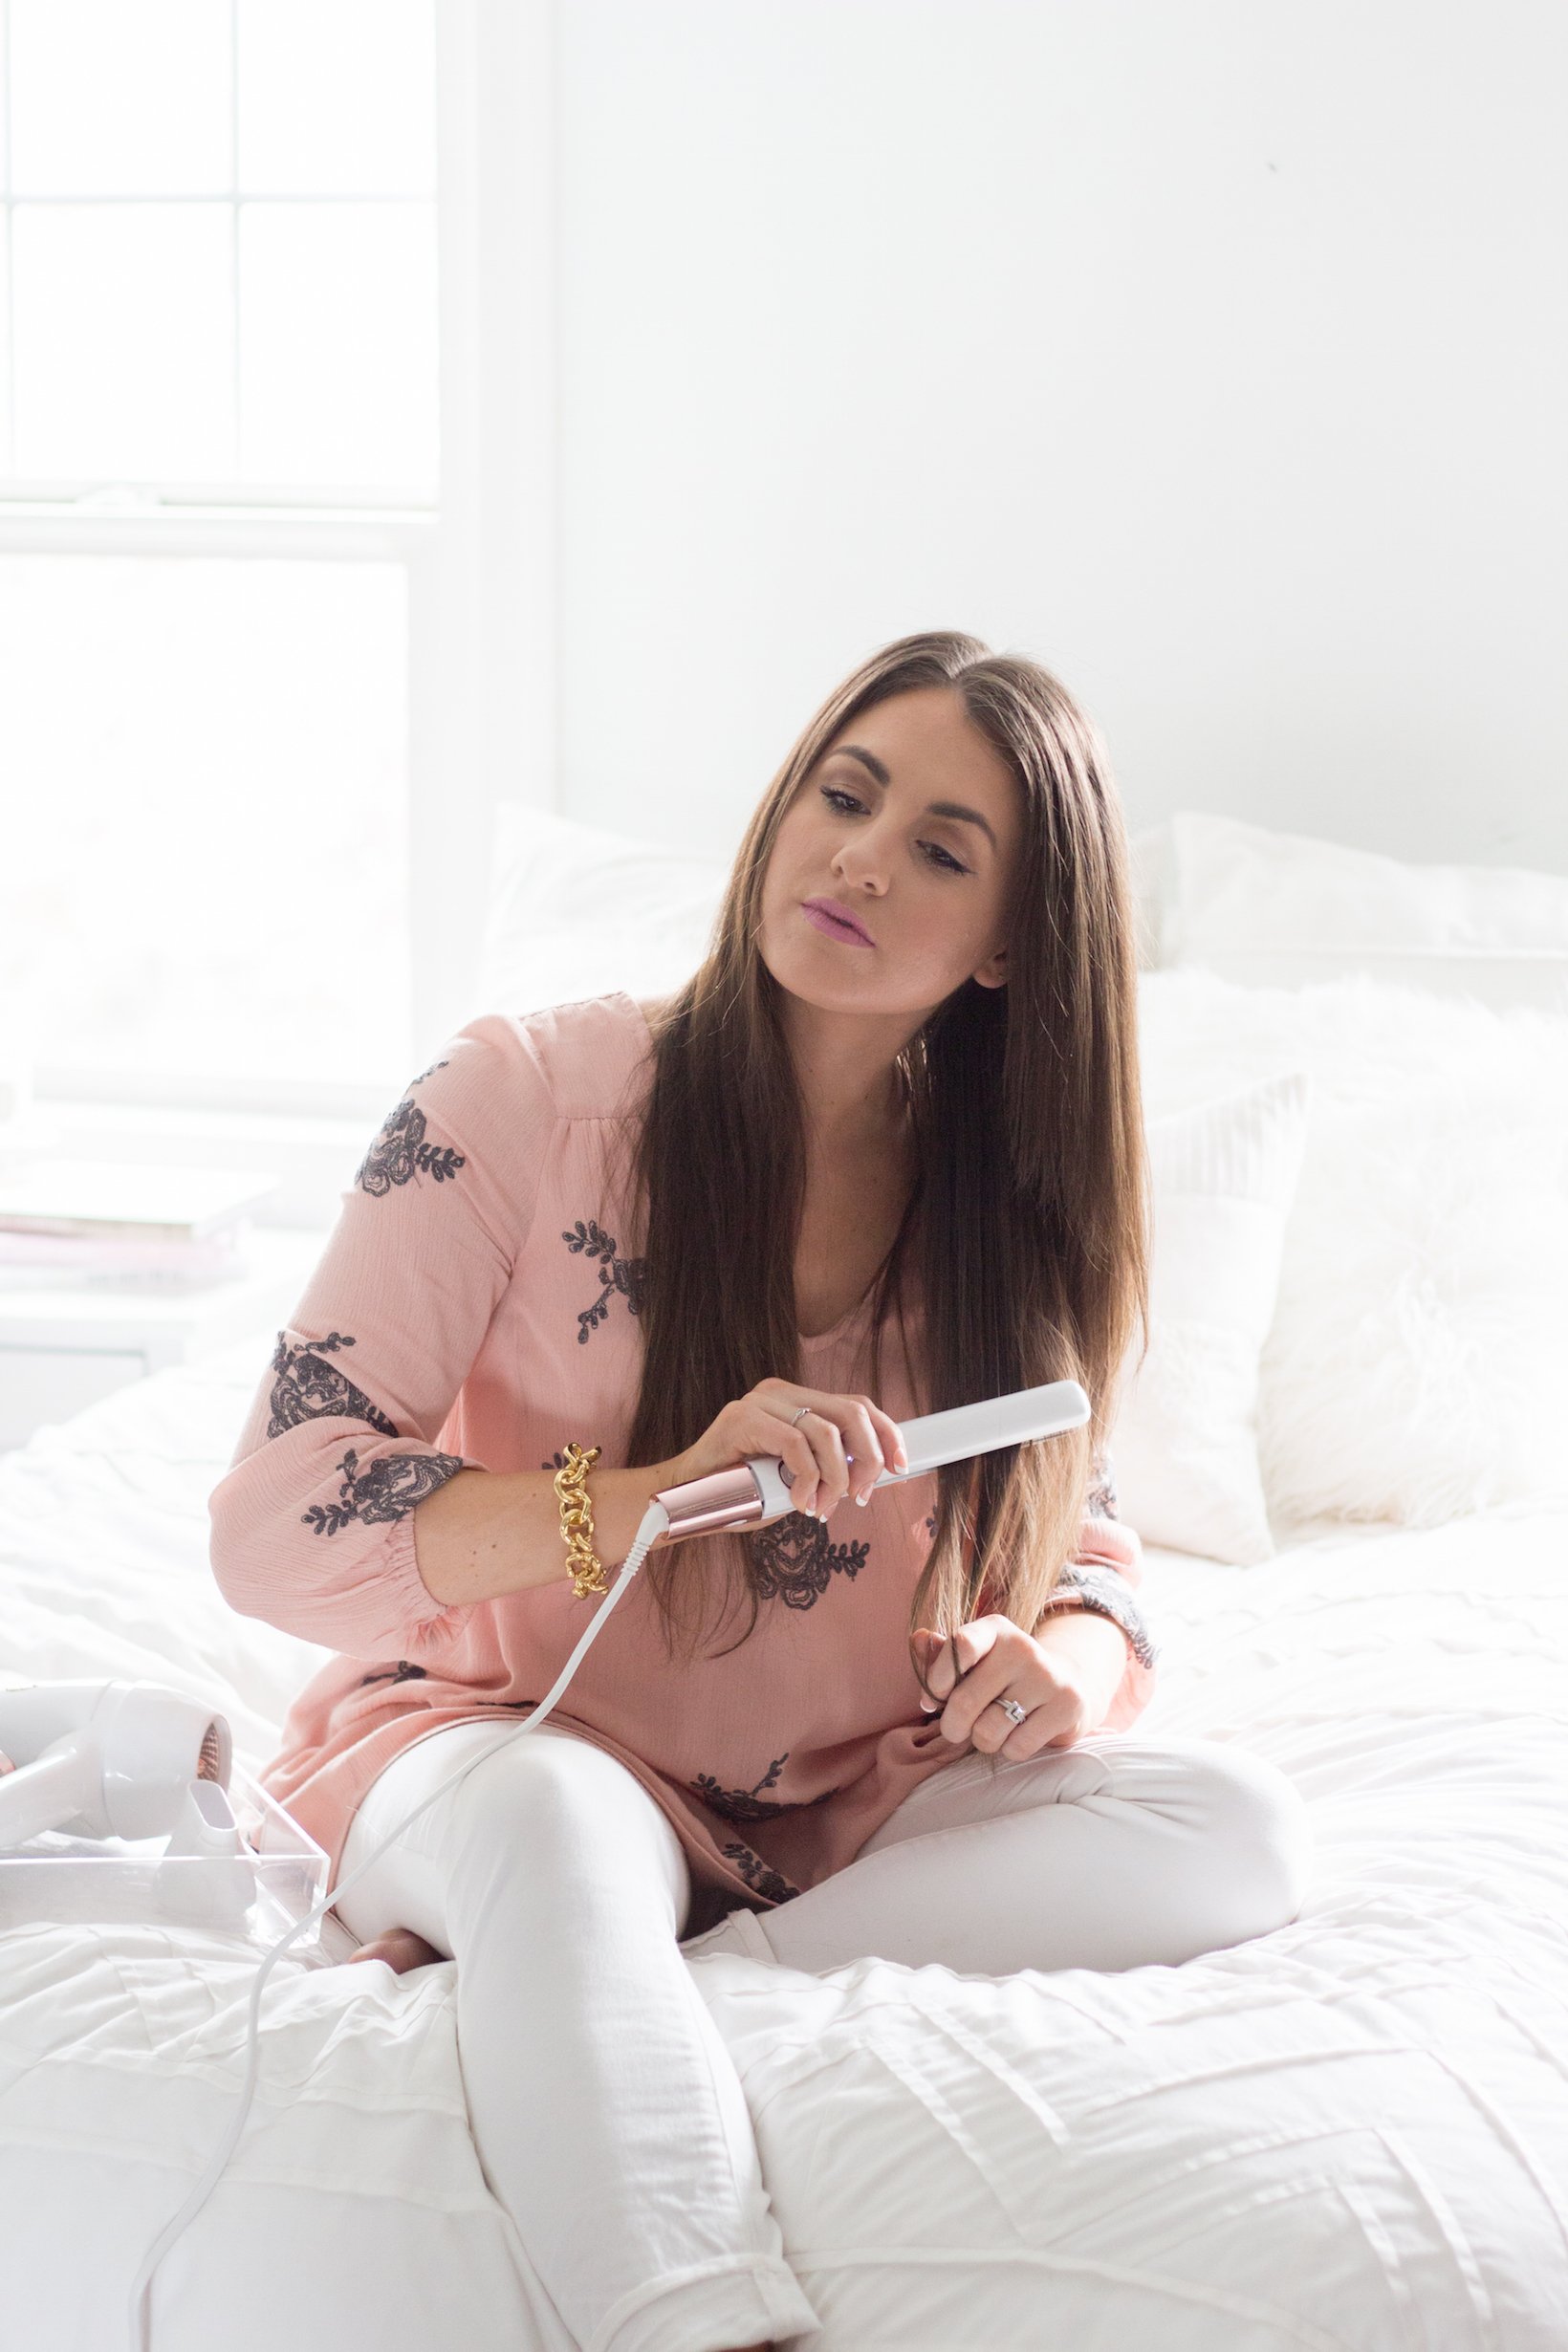 [/symple_column]
STEP SIX: Next, I make sure all the layers around my head are smooth. I pull them to the front so that they all lay in the same direction.
[symple_column size="one-half" position="first" fade_in="false"]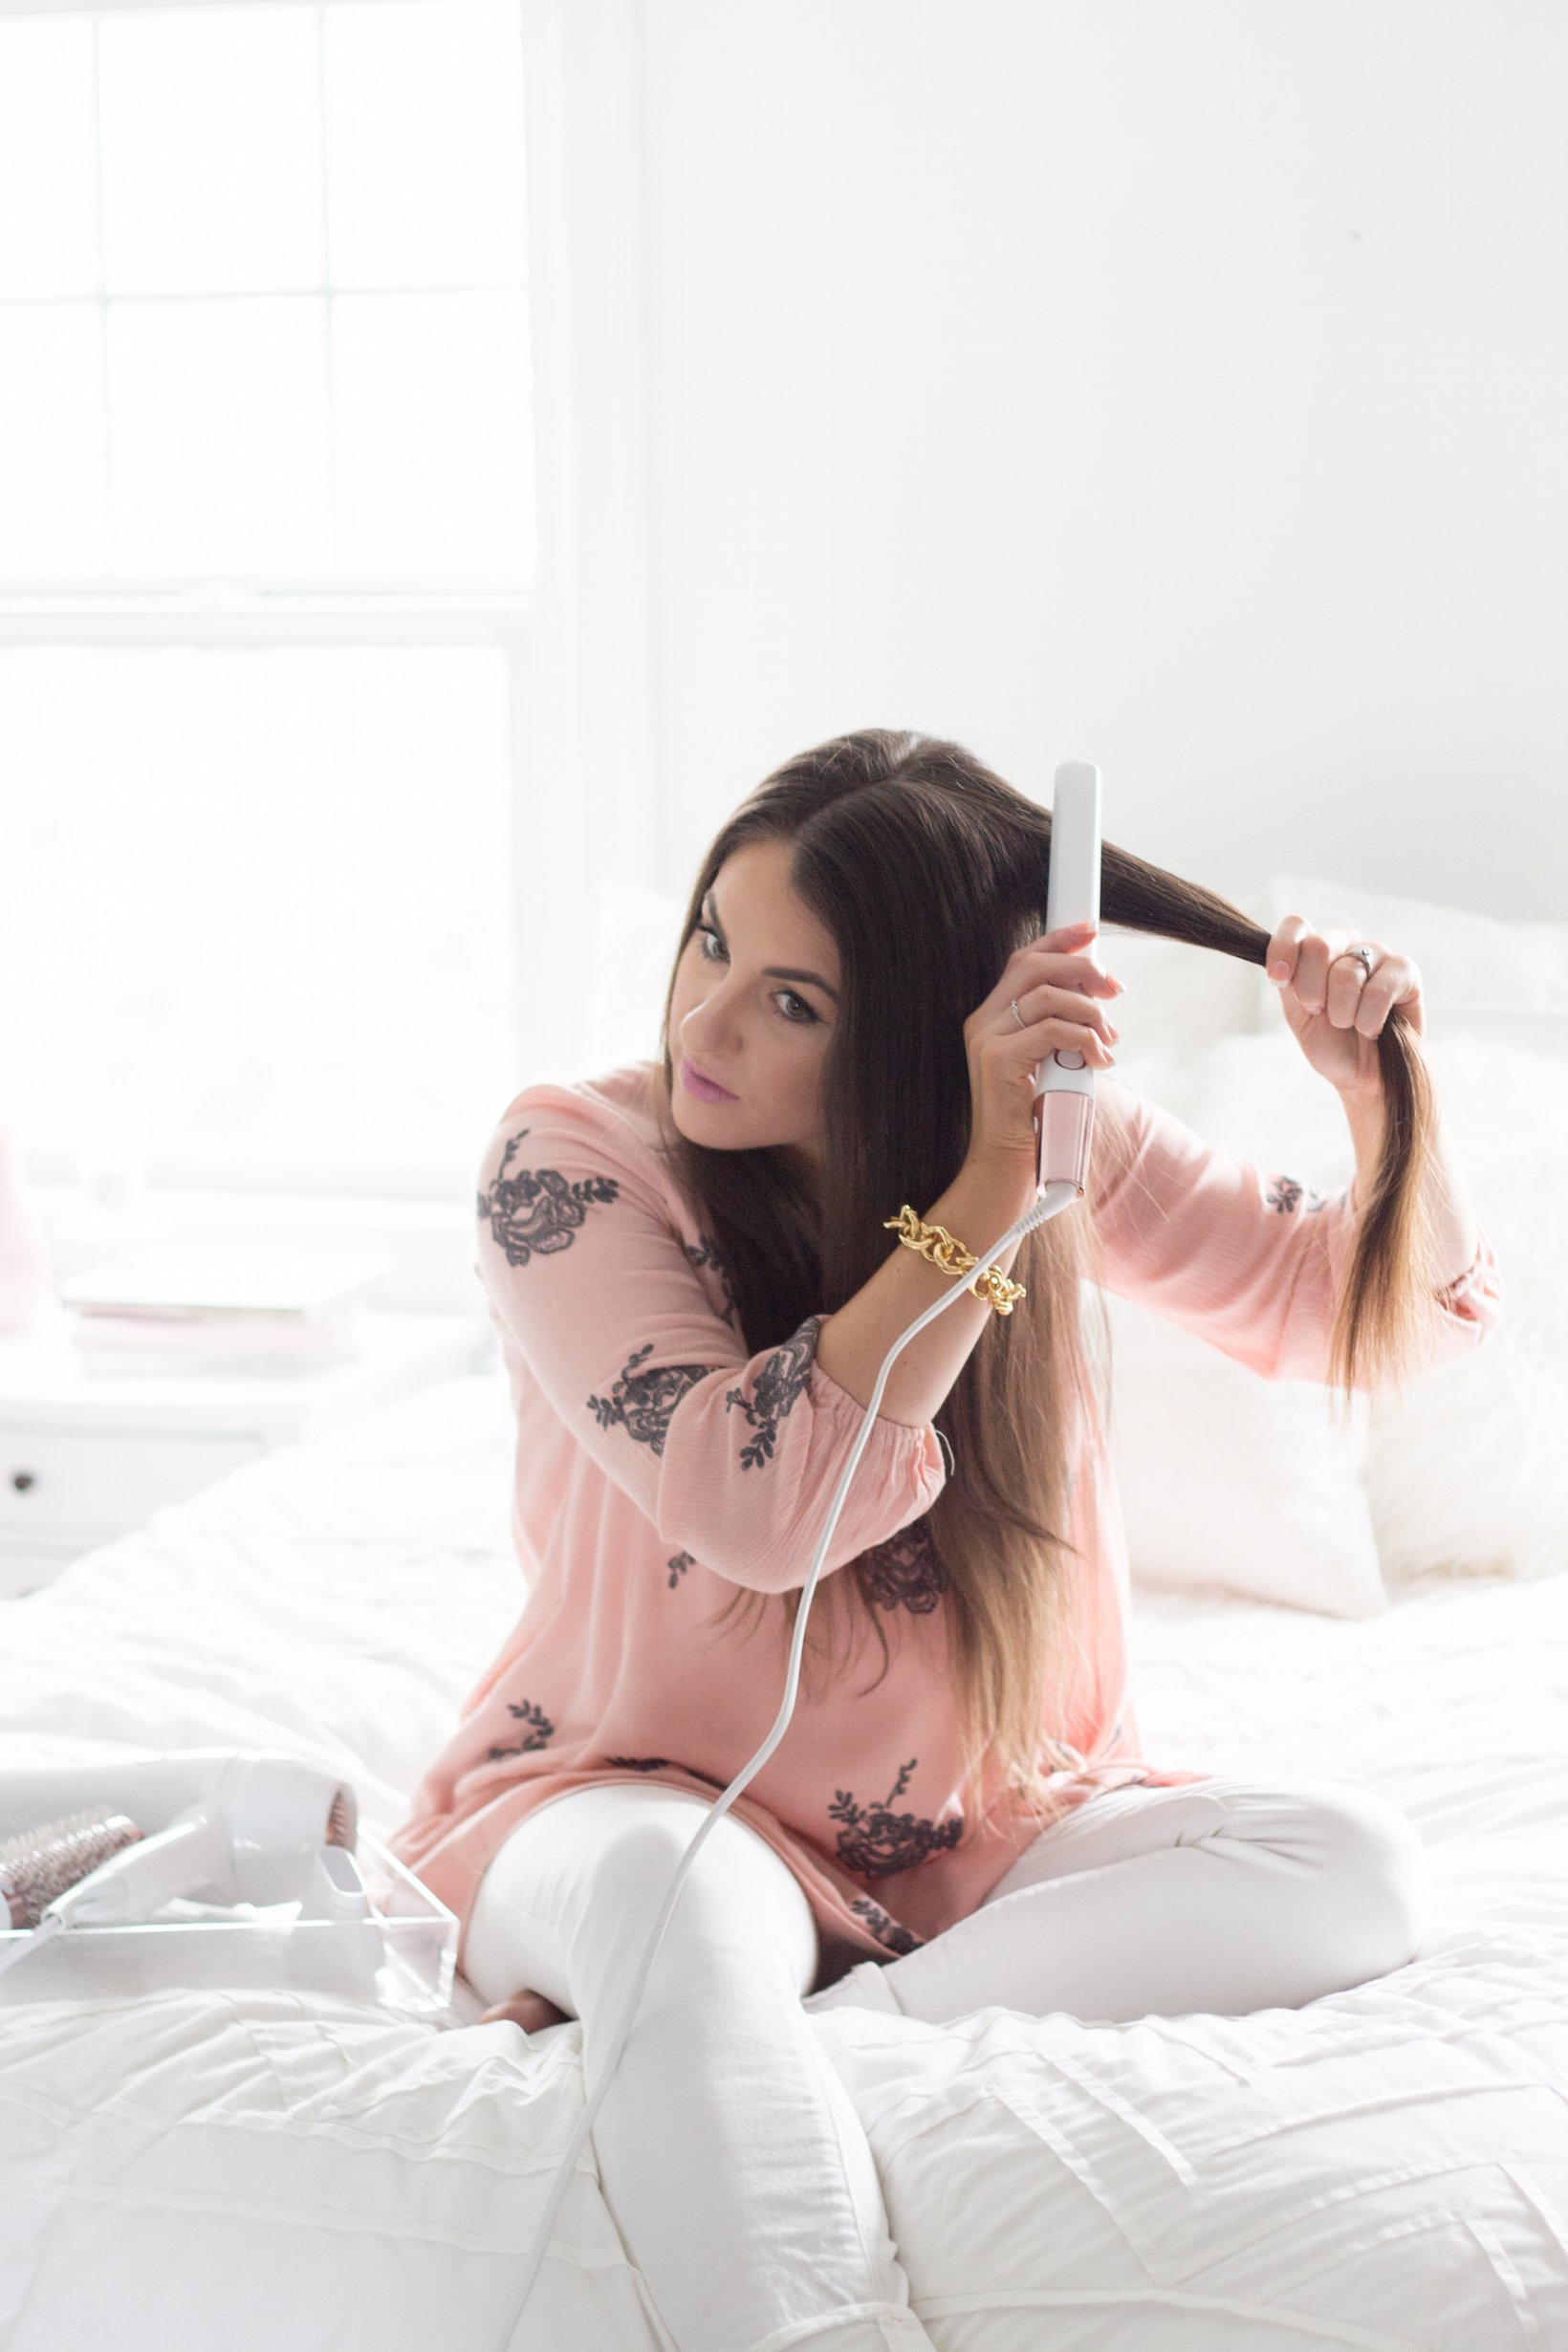 [/symple_column][symple_column size="one-half" position="last" fade_in="false"]
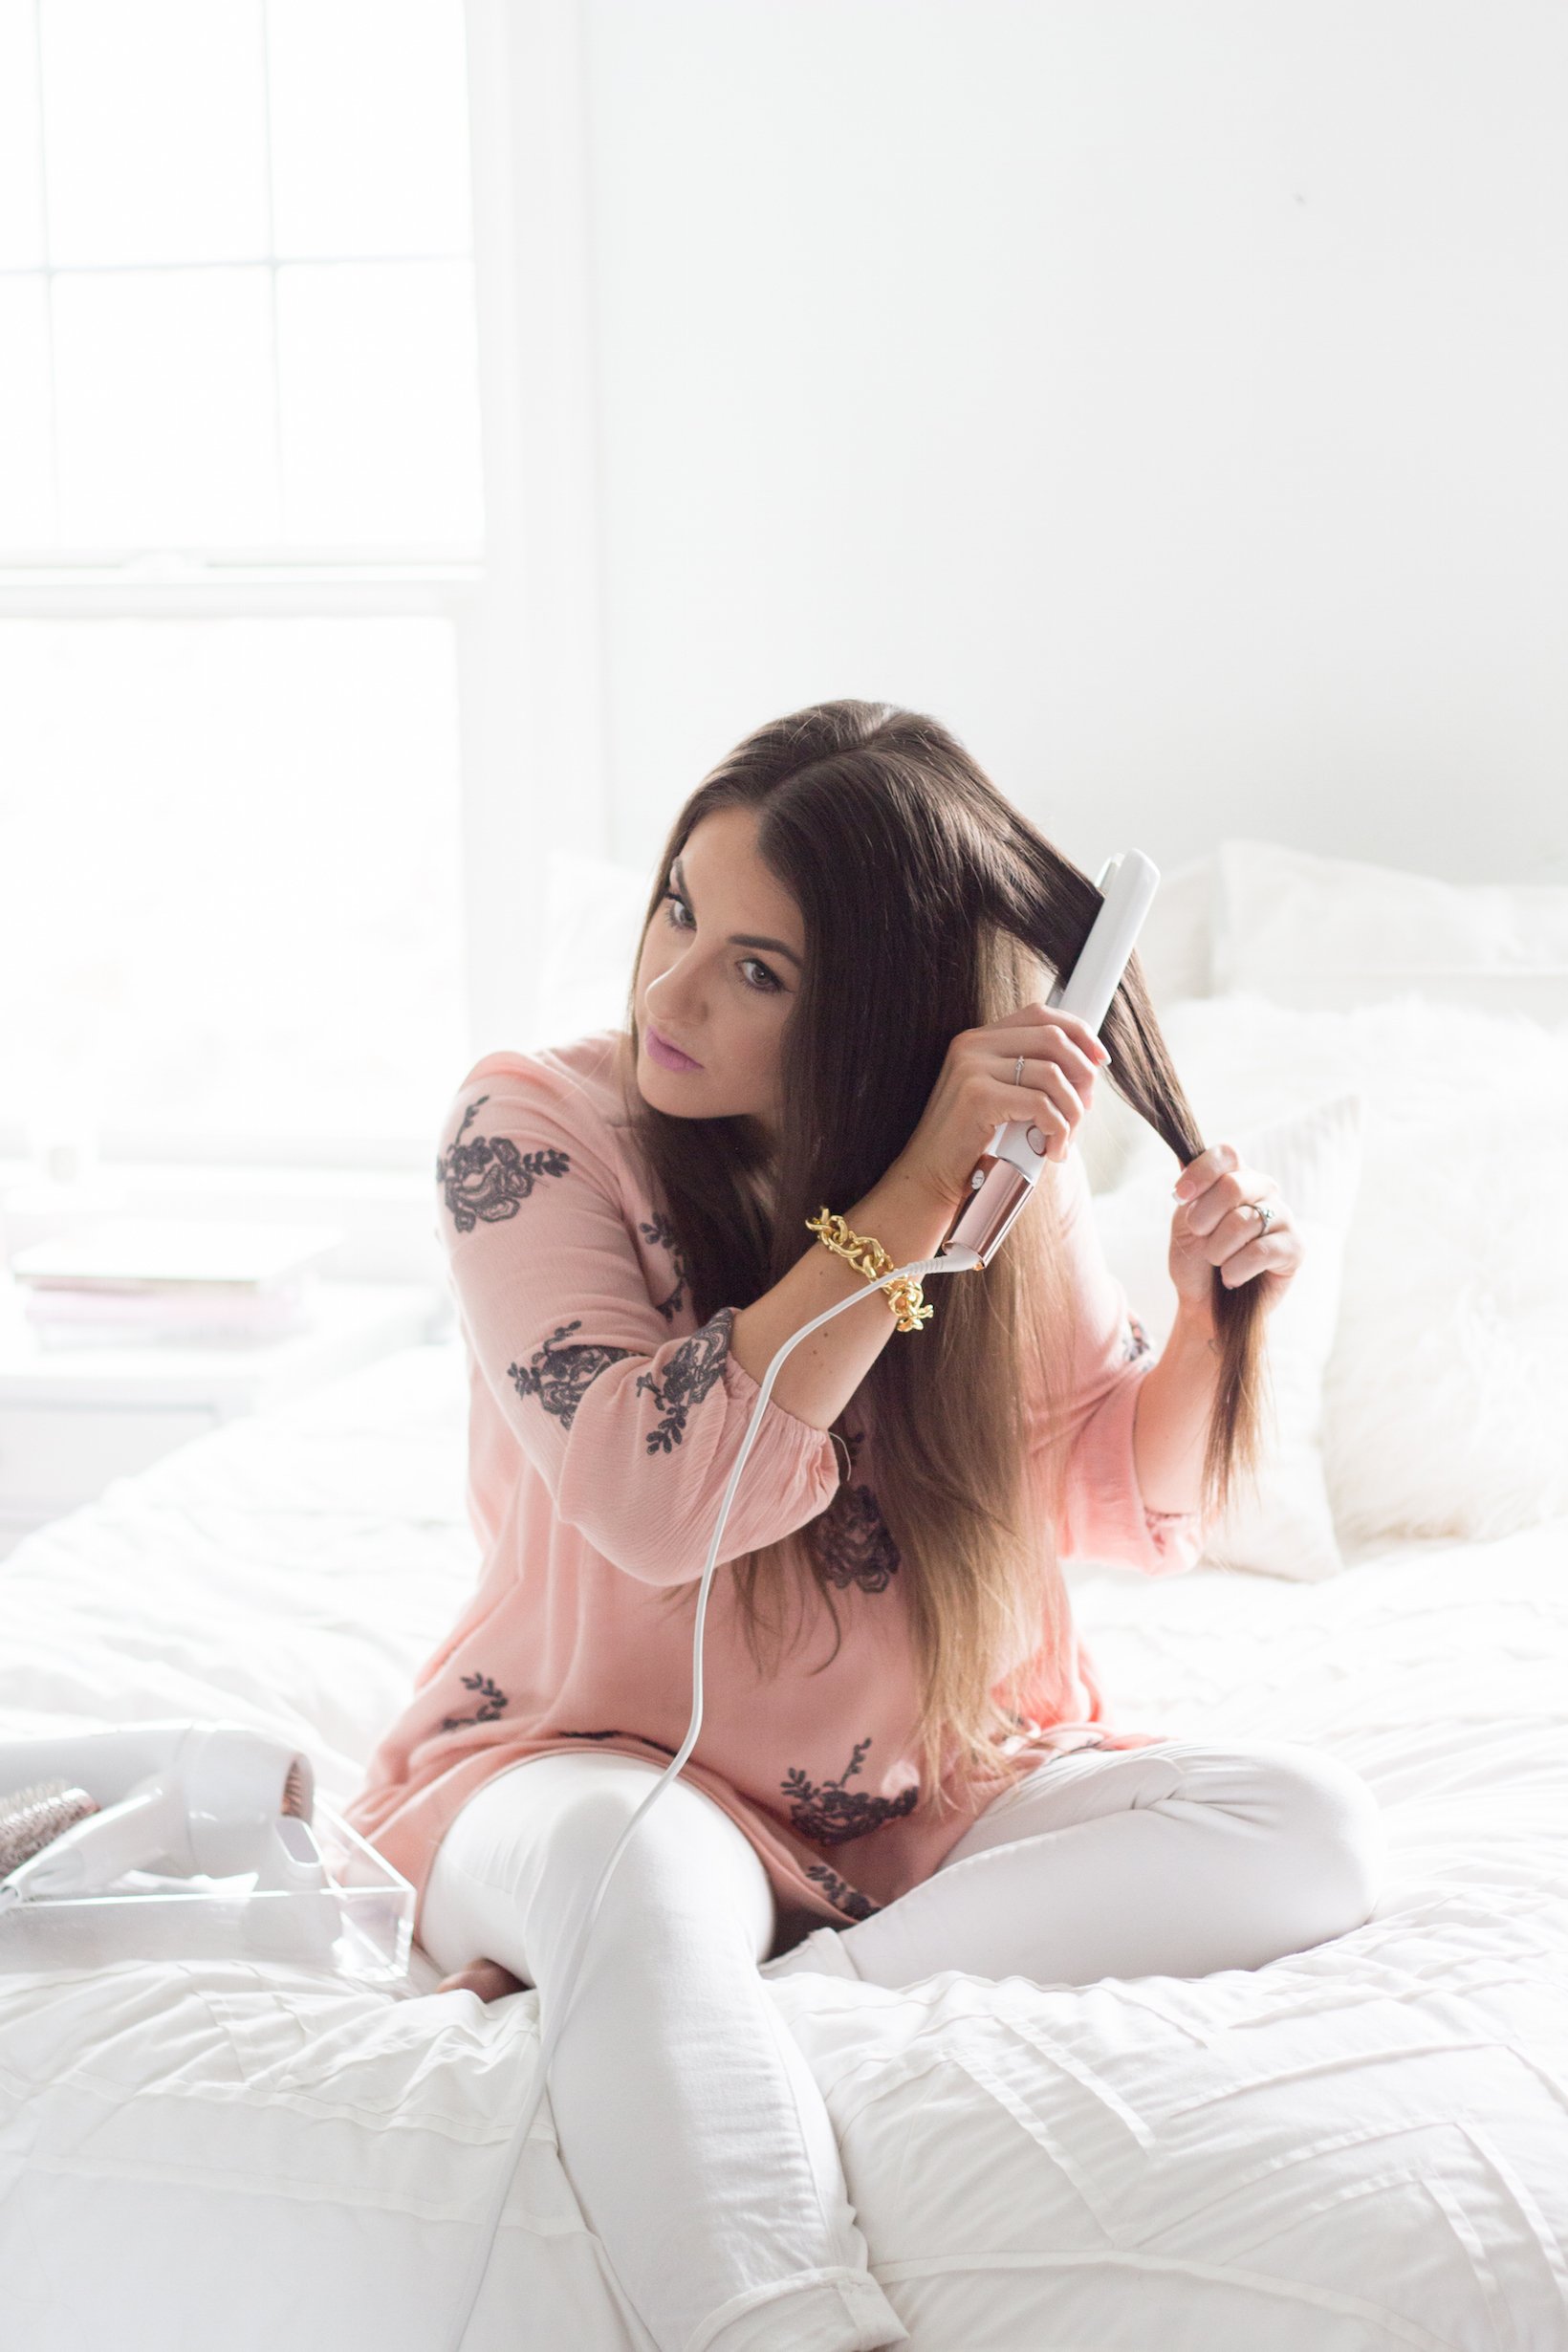 [/symple_column]
STEP SEVEN: Finally, I take all the hair on either side of my face and smooth it down in one direction slightly curling the end up. This gives it great movement.
[symple_column size="one-half" position="first" fade_in="false"]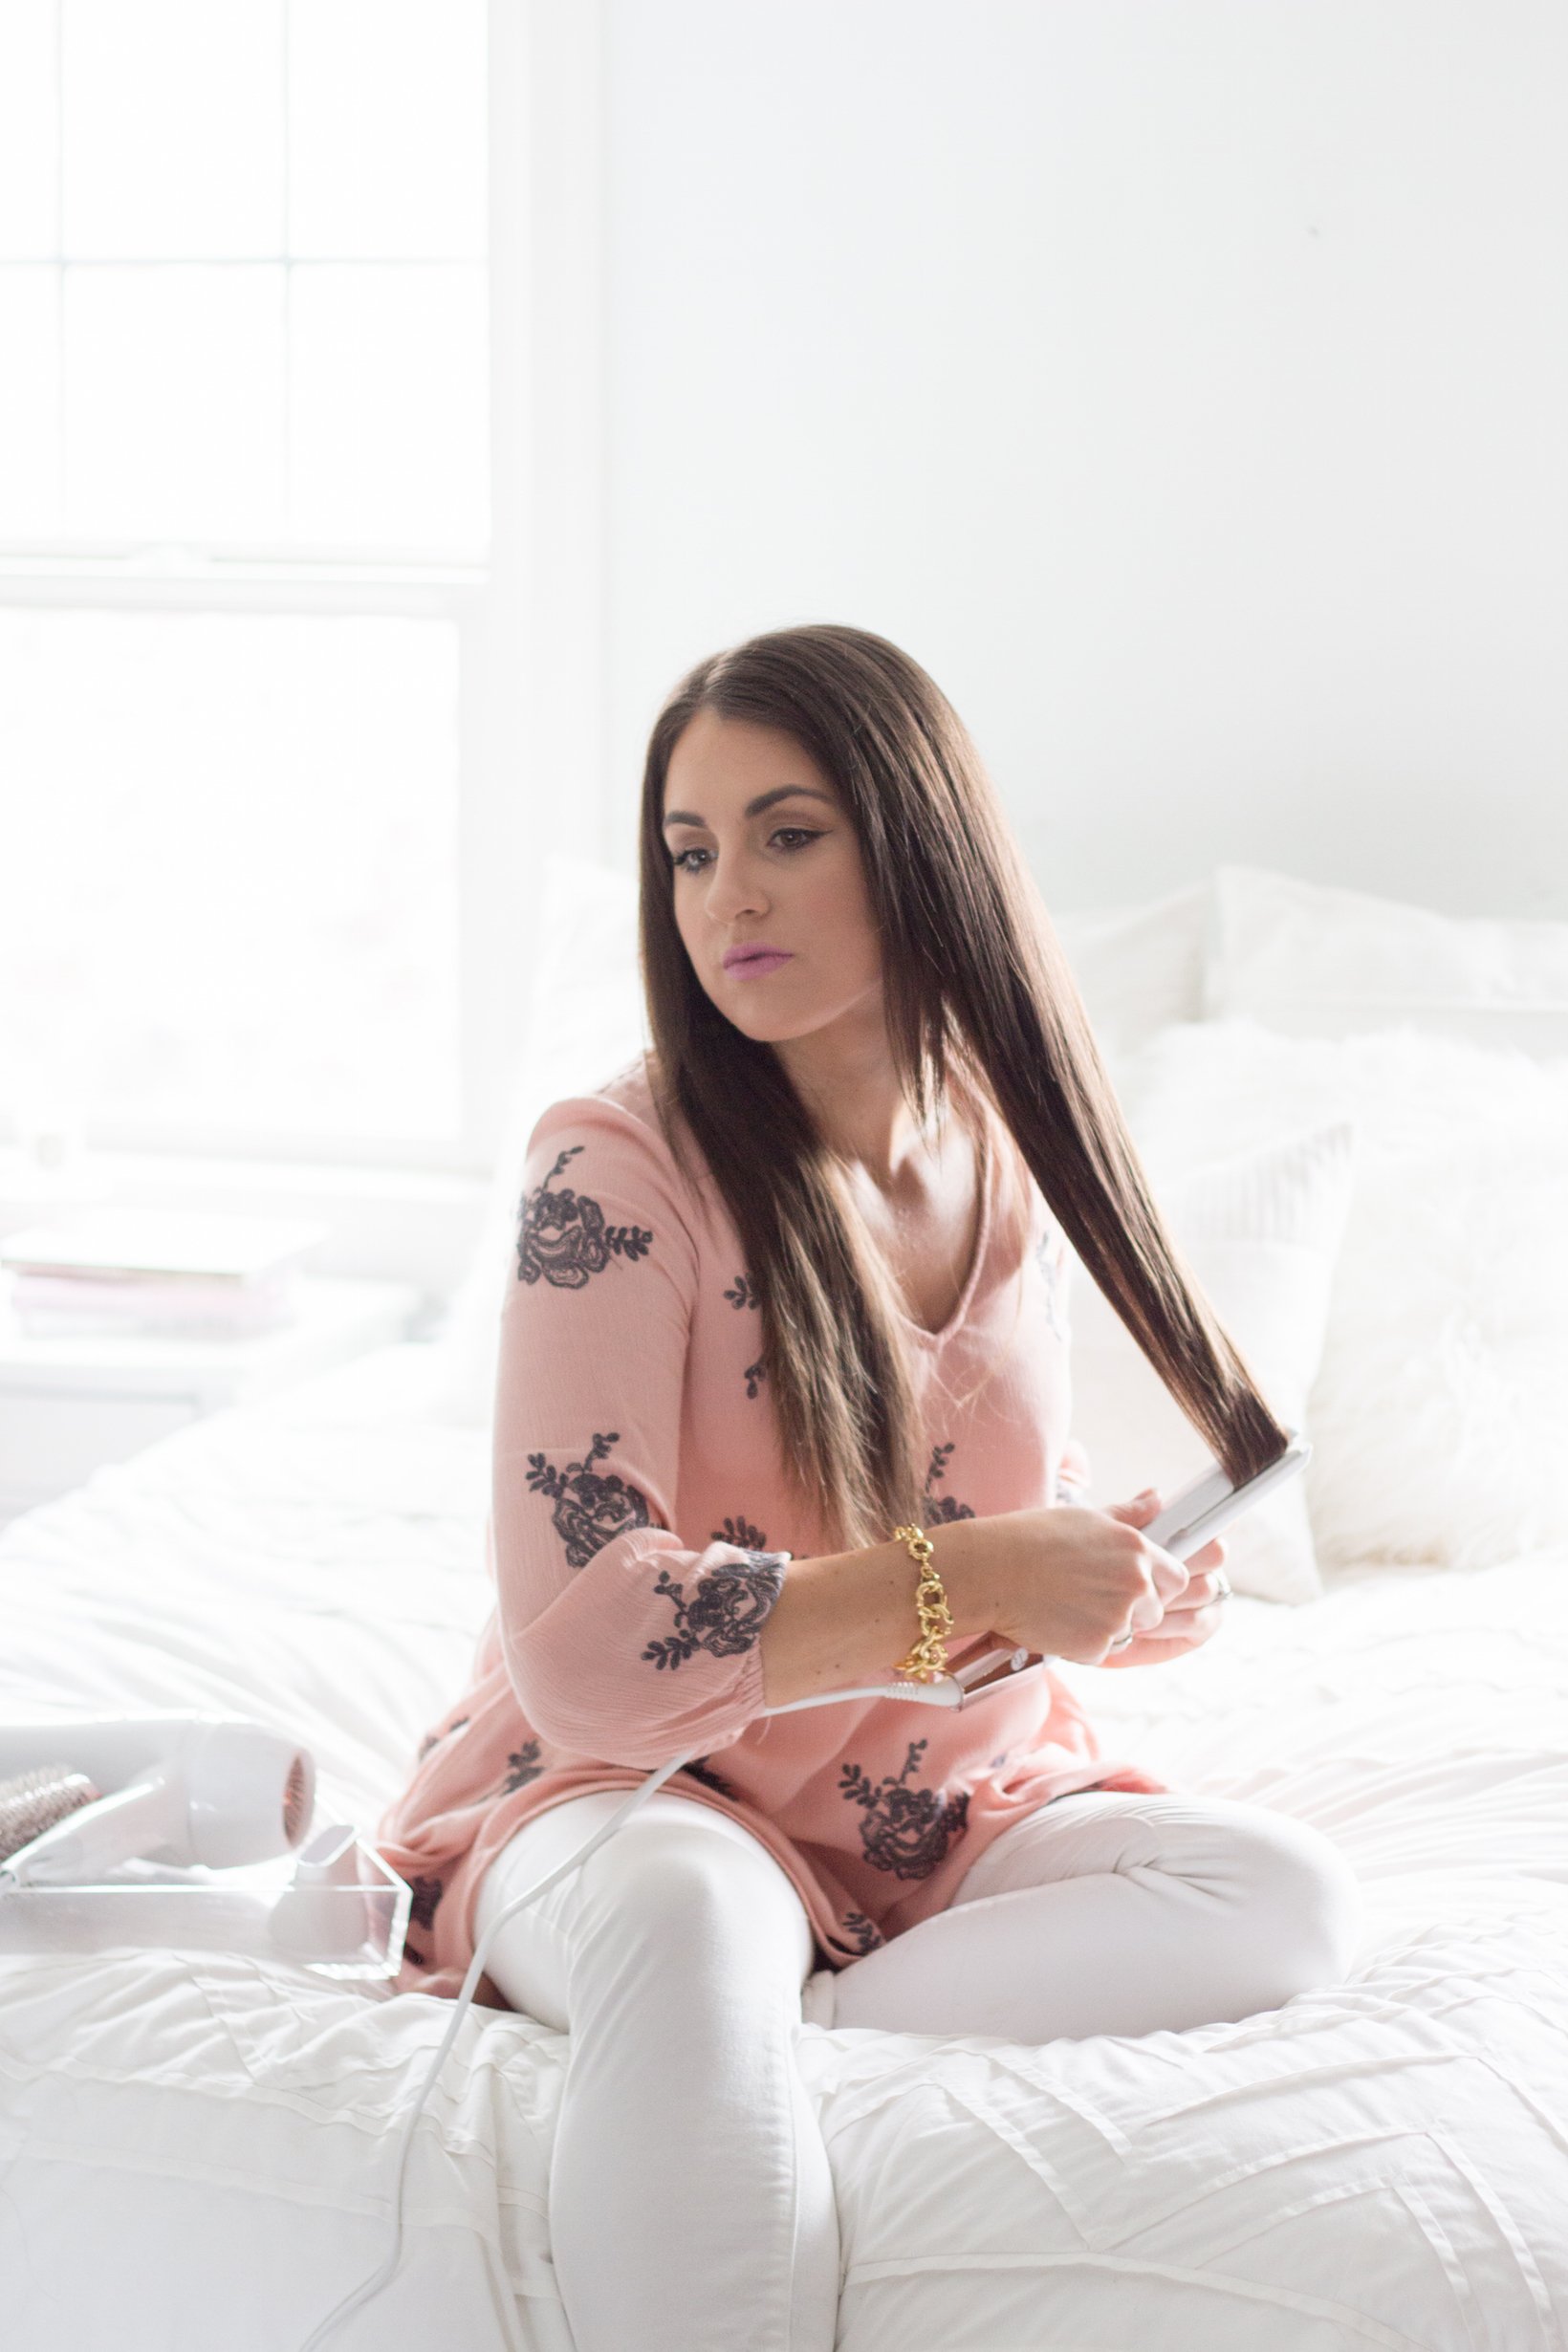 [/symple_column][symple_column size="one-half" position="last" fade_in="false"]
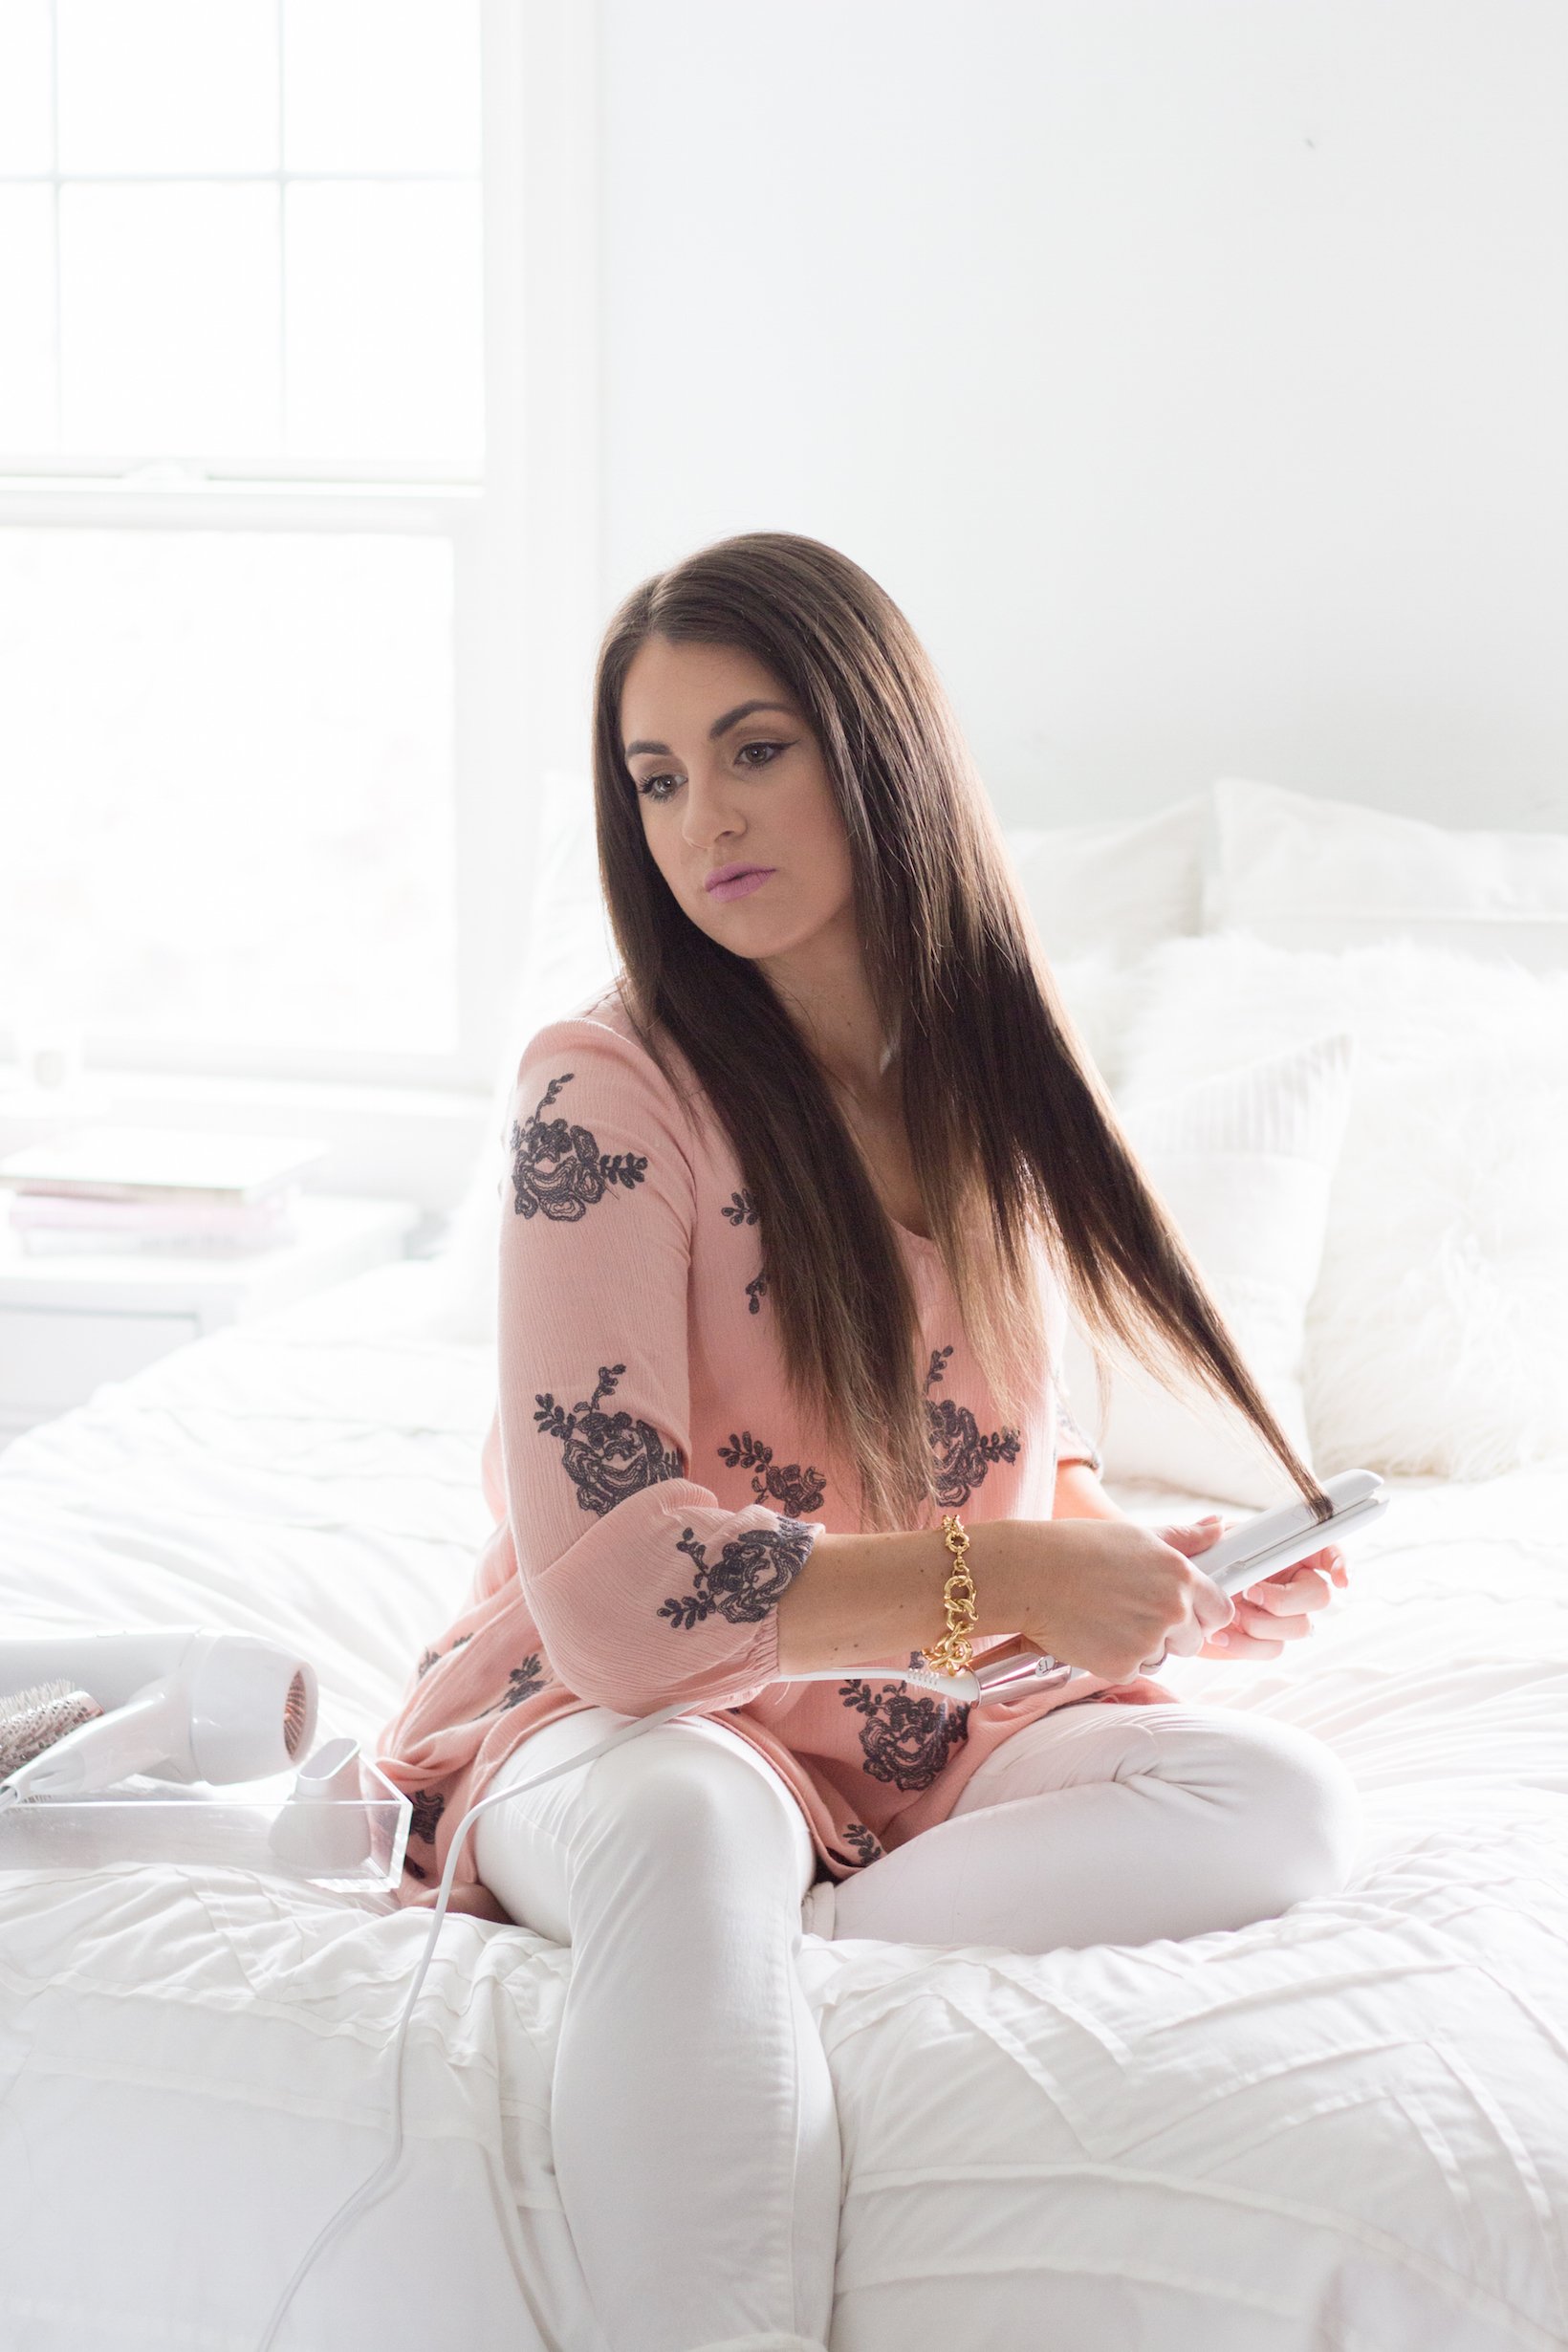 [/symple_column]
I hope this helps you achieve that perfectly straight and sleek style!