
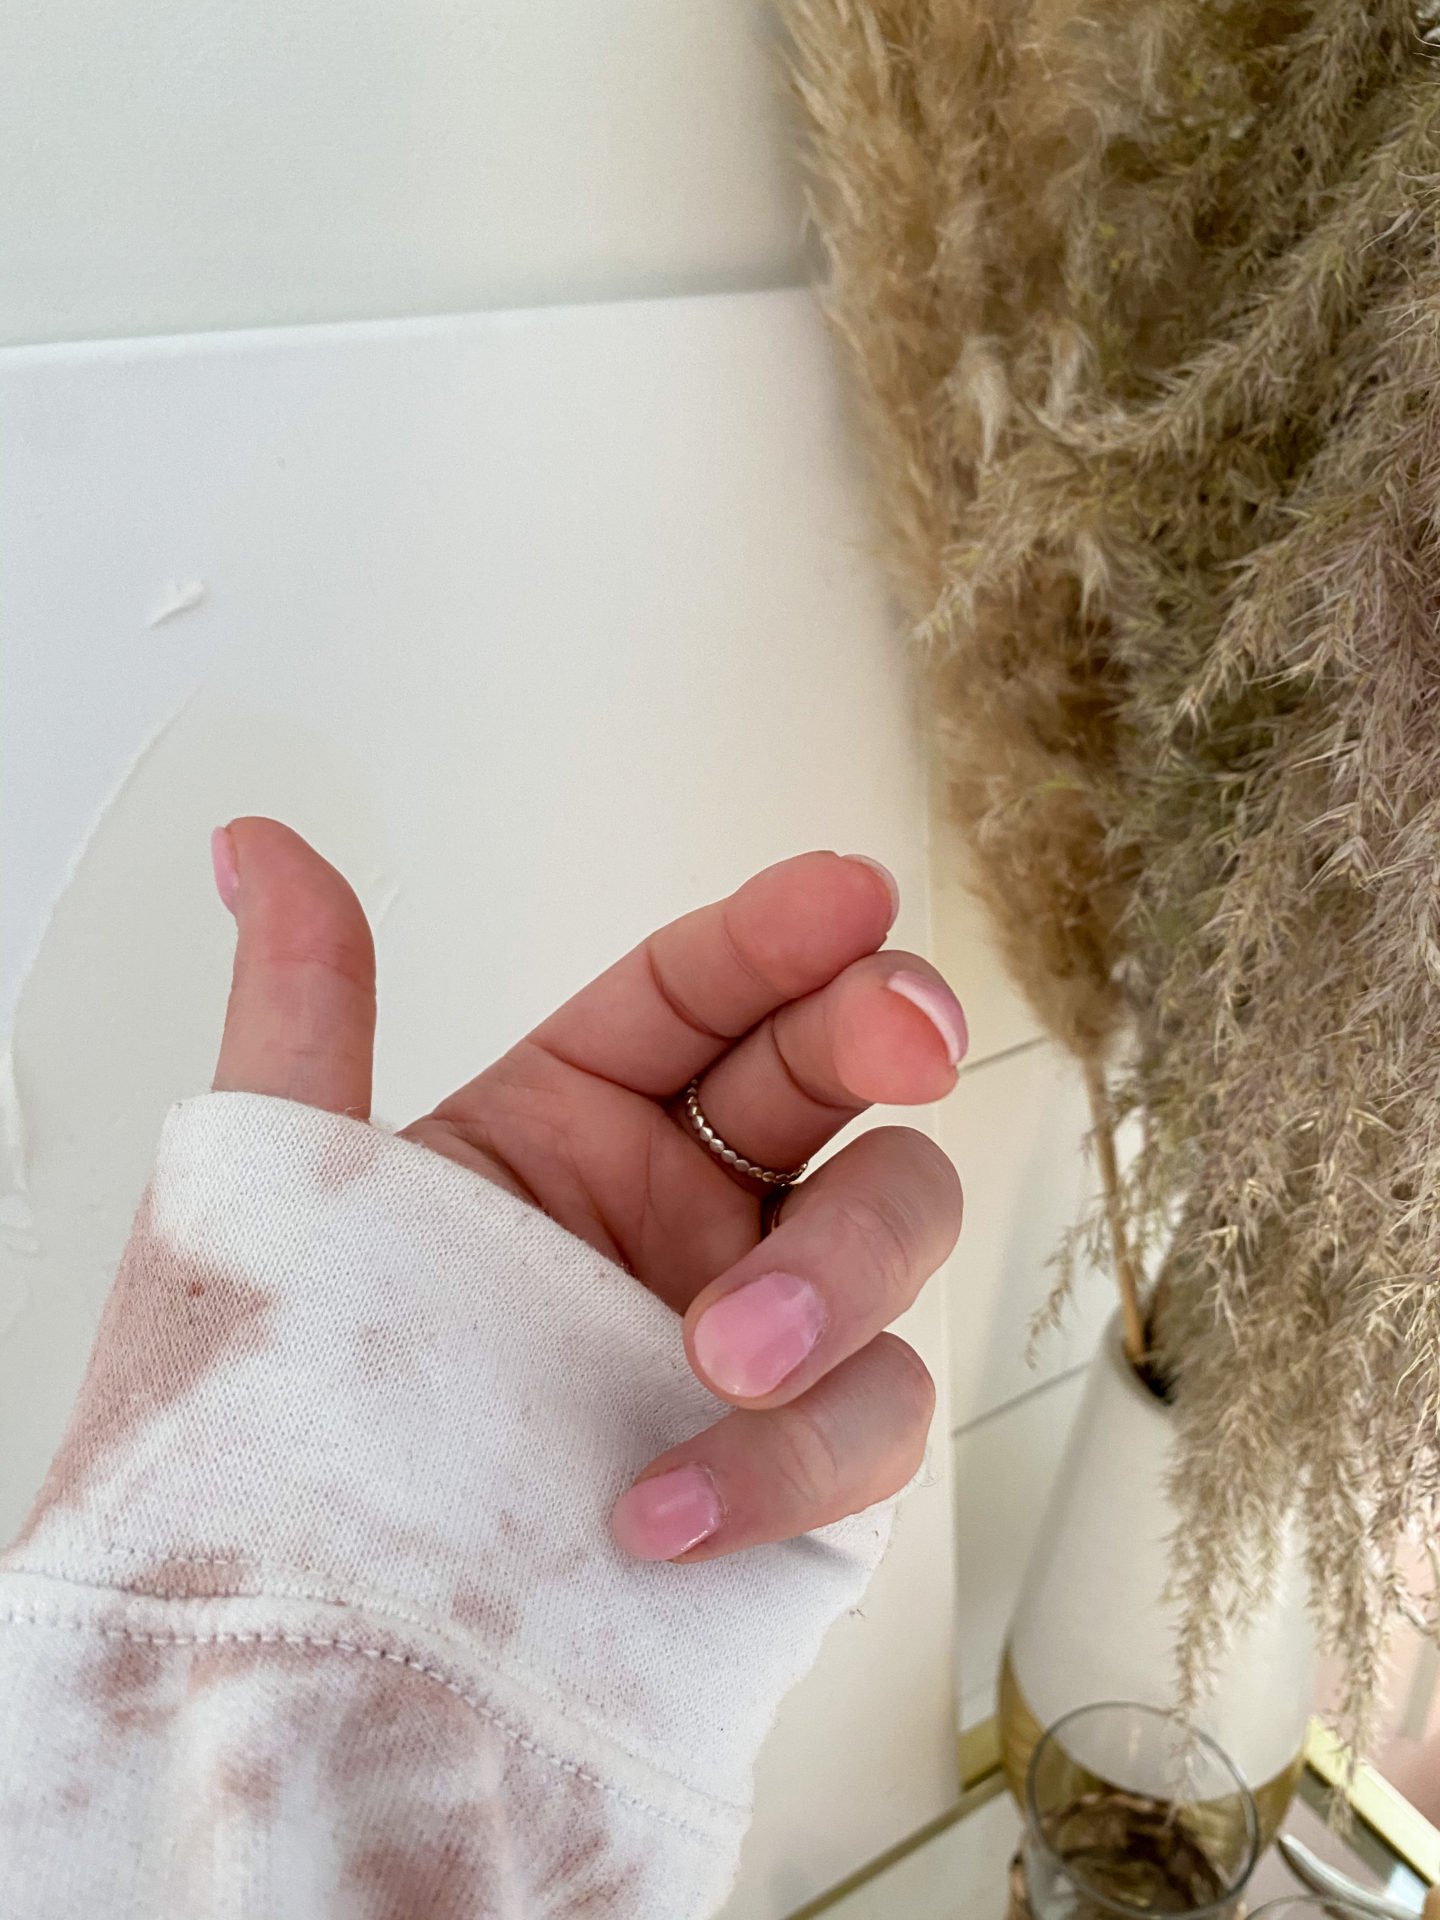
Dip Manicure [how to + tricks]
Finally perfected my dip manicure and have been sharing my nails on IG Stories, so here is my round-up of the tools I use and the products. I will also share the tips on how to make them last...it's all about the application.

DIP MANICURE TOOLS
Tricia Dark Pink
French White
Kiara Sky: I use the clear and have used the other colors and love them.
Dip Powder Tray (french dip and easier application)
When you apply the dip, follow the instructions from your brand.
DIP MANICURE TRICKS
My dip manicure cracks in a couple of days: This is due to how you apply the first step, the product that the powder holds onto. When you paint this step on your nails, hold the brush flat against the nail and glide it over it vs. holding the brush tall. This ensures the product is applied evenly, when it's not the dip manicure will crack and break off in chunks.
My dip manicure is too thick: When you start to apply the dip to your nails, do not start next to your cuticle. Gradually with each layer bring the product back closer to the cuticle bed, this means that the product will last longer and have a more natural look.
The dip next to my cuticles lifts and gets snagged on things: Same as above, it means that the product is too thick. Also, I drag a wood nail stick around each nail to smooth down the product and to make sure none of it is stuck to my skin. This helps to not have any edges that might snag.
My dip manicure falls off my nails in a whole piece after a few days: This has to do how you prepped your nails, be sure you first buff them with a nail file and then remove the skin oil from them. If skin oil is left on there, the product won't adhere to your nail. I like to use acetone on a brush to remove the skin oil, let it dry, then you will be good to go to apply the manicure.
My dip manicure has a rough texture to it even with the gel top coat: This means you didn't brush off the excess after filing your cured manicure, if there is still a residue on your nail and you paint over the top with the gel top coat, it will have a rough texture.
When I dip my nails, the powder has thick bumps: This is due to not dipping your nail at an angle. Be sure to hold the powder so that it's at an angle in the jar, then dip your nail at an angle. This allows the powder to evenly coat the nail without making bumps. Also, using the dip tray I linked above will help, you pour the powder over the nail which ensures it's an even application without bumps.
HOW TO REMOVE A DIP MANICURE
• Buff the shiny top coat off of your nails with a nail file, this exposes the dip so that the acetone can break it down.
• Grab a paper towel, cut into two sheets, and then fold into a square.
• Put one paper towel into one ziplock bag and pour some acetone in.
• Heat a bowl of water, not too hot, I tend to do 45 seconds.
• Then place your fingers into the ziplock bag with the paper towel and acetone in it, then place this into the hot water bowl.
• Rub your nails onto the paper towel underneath the water level, the heat activates the acetone and the paper towel rubs the dip off your nails.
• Repeat on the other hand.
• I do this for about 10 min and my nails are completely ready for a new manicure!